

As soon as upon a time, I auditioned for a type of actuality meals exhibits, and my kimchi spring rolls bought me to the following stage of auditions (For those who haven’t tried them but, I posted a budget-friendly model right here on the weblog!) Why would a recipe like that get me flown to Los Angeles, you ask? Nicely, the decide requested me how I made my kimchi, and apparently, I aced his take a look at; it’s not merely pickled; it’s fermented! I’ve all the time liked fermented meals, and this Selfmade Kimchi is simple, vegan, budget-friendly perfection—the longer it sits, the higher it will get! Nonetheless, the method is tremendous vital, so let’s dive in!

All recipes are rigorously examined in our Nashville Take a look at Kitchen to make sure they’re simple, reasonably priced, and scrumptious.
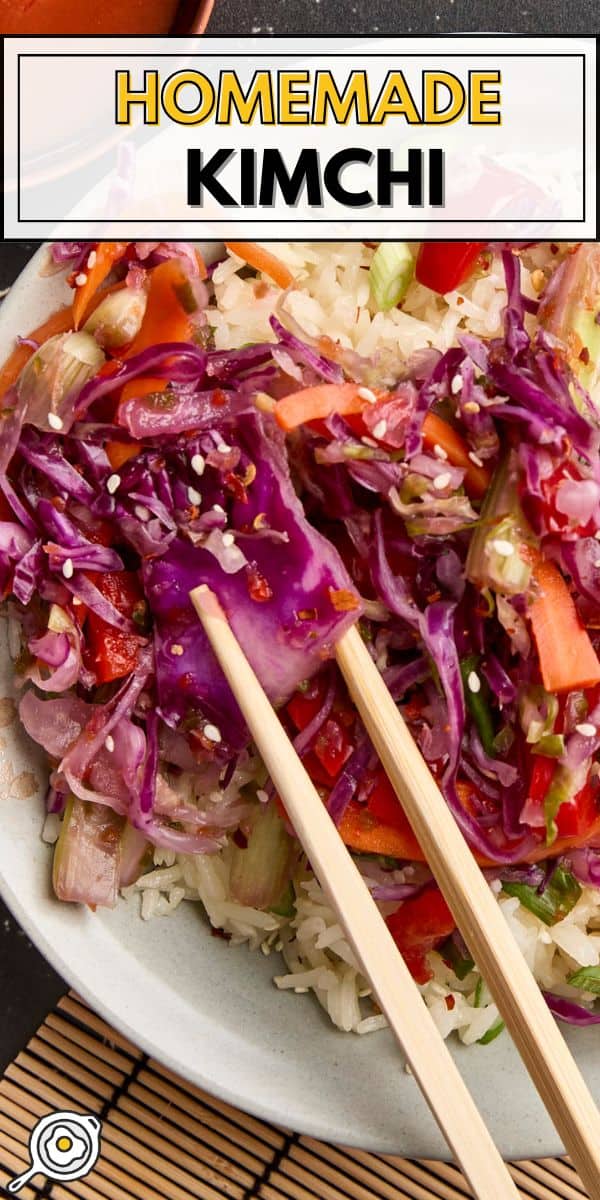
Simple Recipe for Selfmade Kimchi
Kimchi is a spicy, tangy, and veggie-packed Korean aspect dish made by fermenting recent greens (consider it like pickles with a probiotic enhance!). As an alternative of vinegar, the magic occurs by lacto-fermentation, the place good micro organism (the sort that’s nice in your intestine) naturally protect the veggies and construct the signature sour-savory taste. I like serving it on rice bowls, tucked into wraps, or eaten straight from the jar as a fast snack. 😋
After I was in my 20s, I took a holistic diet course with a Naturopath Physician in Indonesia. On my sojourn, I had a really lengthy layover in South Korea, the place I swear I ate 100 completely different sorts of kimchi. It helped me pinpoint the veggies I like most in my do-it-yourself recipe, however you need to use nearly any hardy vegetable you have got available; I love to do a seasonal model as effectively, utilizing uncooked pumpkin or butternut squash within the fall. Veggies like cucumbers and zucchini can be utilized, however due to their tremendous excessive water content material, they flip too mushy for my liking. Cabbage really helps the feel it doesn’t matter what else you add, so you should definitely pick a pleasant recent head of cabbage!
Selfmade Kimchi Recipe
Forestall your display from going darkish
- 1 Tbsp agave ($0.14*)
- 1 jalapeno (seeded, $0.41)
- 1 purple bell pepper (seeded and divided, $1.48)
- ½ purple onion (divided, $0.54)
- 2 inch piece recent ginger (peeled, $0.24)
- 2 massive cloves garlic ($0.06)
- ½ inexperienced cabbage (mine was about 1 ¾ lbs, $1.66)
- ¼ purple cabbage (mine was about ¾ lb, $0.86)
- 4 inexperienced onions ($0.48)
- 2 ribs celery ($0.30)
- 2 carrots ($0.16)
- 1 Tbsp sea salt ($0.08)
-
Start by sanitizing your workspace and working three 12 oz canning jars by your dishwasher on excessive warmth to sanitize them. Alternatively, you may as well sanitize your jars by submerging them in boiling water after which permitting them to air dry.
-
In the meantime, in a meals processor, mix agave syrup, 1 jalapeno (seeded), ½ purple bell pepper (seeded), ¼ purple onion, peeled ginger, and garlic cloves.
-
Pulse greens and agave in a meals processor till all greens have been damaged down right into a paste-like consistency, with any seen greens all being the identical measurement, minced. Put aside.
-
Prep all of the greens: roughly chop or slice each cabbages, roughly chop the inexperienced onion (discarding solely the very tip of the basis), cube celery, julienne carrots, remaining ½ purple bell pepper, and remaining ¼ purple onion. This step is a good time to follow your knife abilities or skip laboring over slicing all the pieces and simply chop it up coarsely. Kimchi could be very forgiving, and it’s enjoyable to have lots of completely different shapes that can contribute to the feel as soon as it’s fermented later.
-
In a big mixing bowl, mix all ready veggies and salt. With clear arms, therapeutic massage the salt into the ready greens till they’re all very delicate. (It’s arm day, y’all! Use these muscular tissues, and don’t cease!)
-
After at the least 10 minutes of massaging the greens and salt, add the ready, processed vegetable and agave combination. Proceed to therapeutic massage the greens and the spicy-sweet processed combination collectively for one more 5-10 minutes, or till a big quantity of water is launched from the veggies, and you’ll see it pooling on the backside of our bowl.
-
With clear arms, spoon your combination into jars and push it down firmly with the spoon as soon as full. It is best to see a big quantity of liquid brine rising to the highest, protecting your greens everytime you push it down with the spoon (or clear fingers!) Don’t waste the brine; high off the jars as a lot as you’ll be able to to cowl the veggies.
-
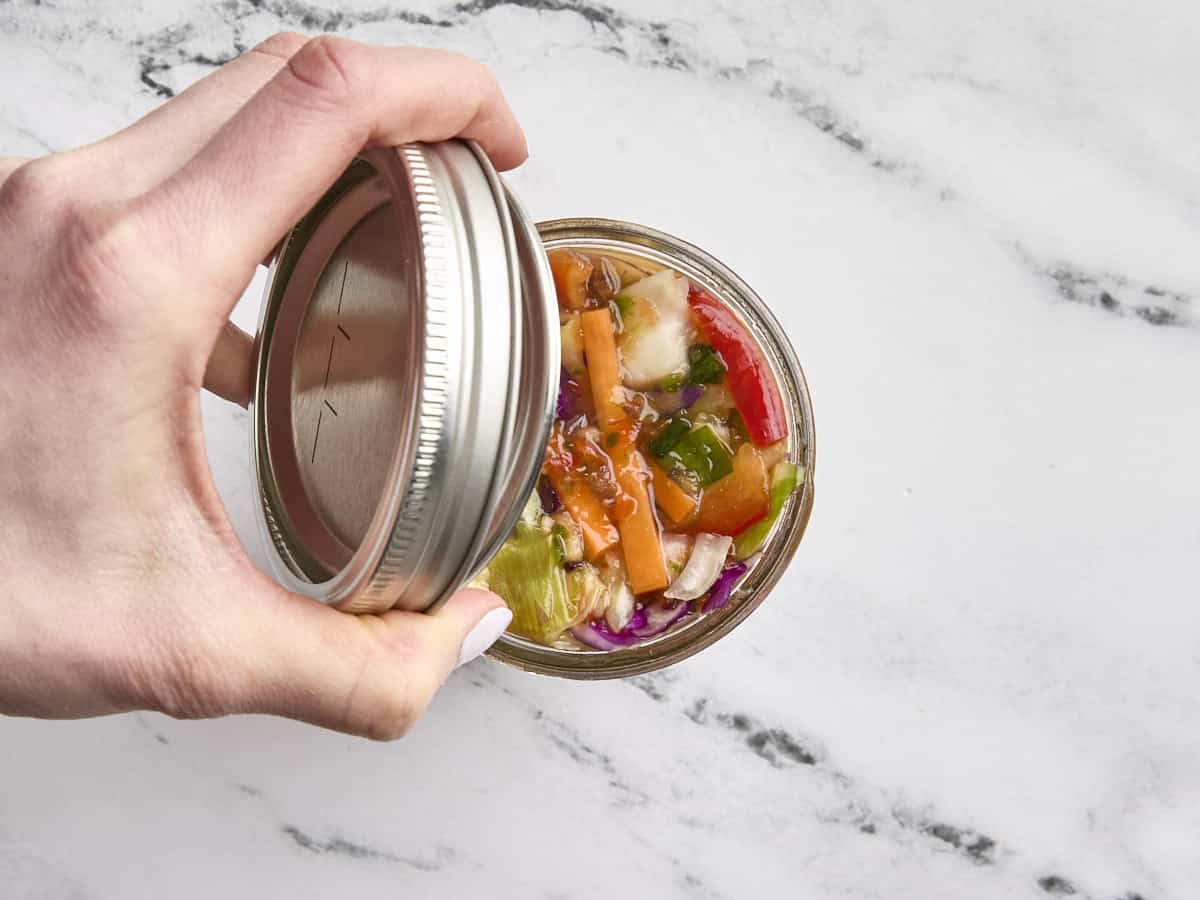
Place lids on jars loosely and wipe down the jars. Switch the jars to a darkish place in your kitchen for twenty-four hours. I like to position my jars in a spare Tupperware container and hold them underneath the sink, so they’re contained and in a heat(ish) place to assist with the early fermentation course of.
-
After 24 hours, fastidiously “burp” every jar by merely eradicating the lid to permit among the naturally occurring gasses to flee. In case your kitchen is very hot, it’s possible you’ll need to burp your kimchi after simply 12 hours to keep away from a small (potent!) explosion. 🙂
-
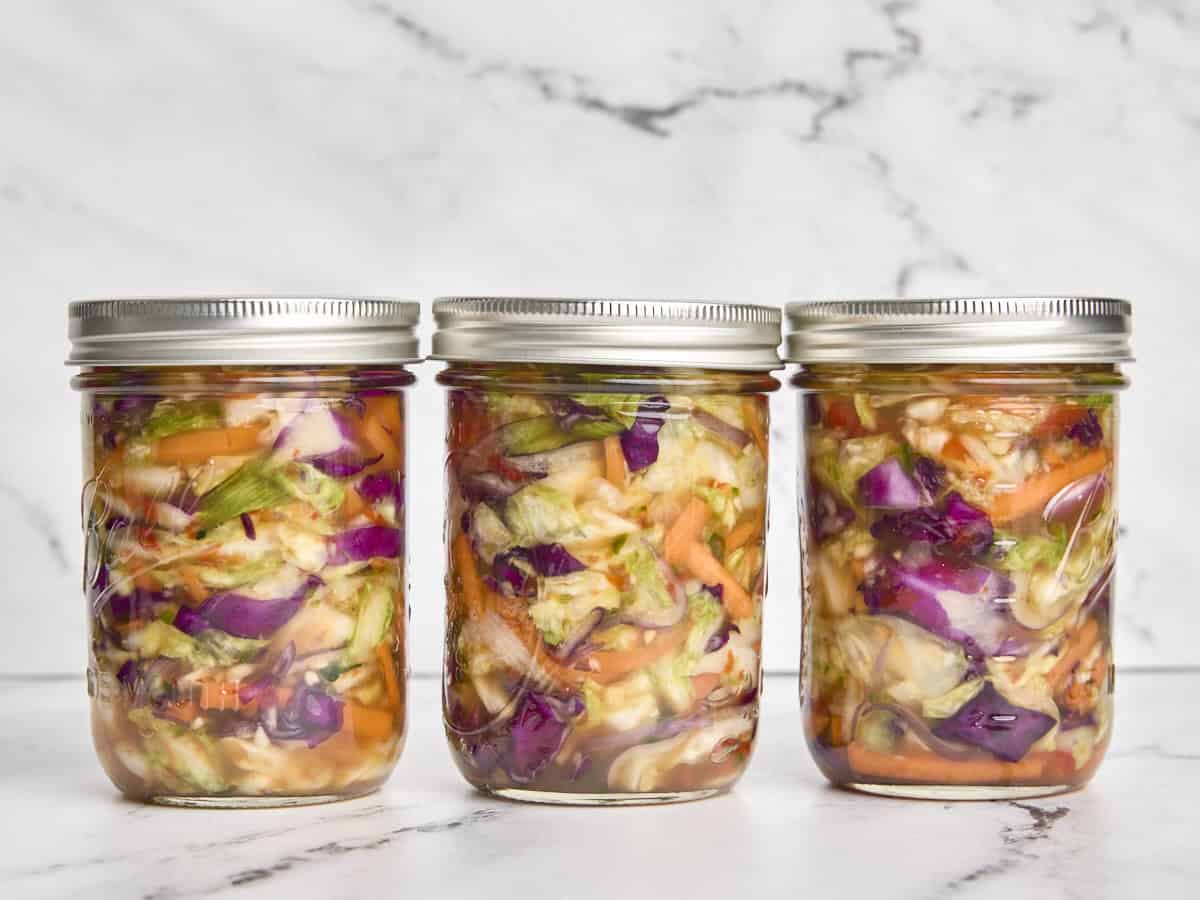
After the preliminary 24-hour fermentation interval, burp your kimchi each 8-12 hours till you see constant, lively bubbles each time you open the lid. When you see lots of effervescent frequently, you’ll be able to screw the lid on tight and switch the jars to your fridge. It’s accomplished!
See how we calculate recipe prices right here.
-
3 12 oz Canning Jars
-
Meals Processor
-
Giant Mixing Bowl
The entire period of time for fermentation to happen can depend upon numerous elements, such because the temperature of your kitchen. Preserve burping the jar each 8-12 hours after the preliminary 24-hour (or 12-hour) fermentation interval till you see constant bubbles.
Serving: 1ozEnergy: 11kcalCarbohydrates: 3gProtein: 0.4gFats: 0.1gSodium: 201mgFiber: 1g
Learn our full
diet disclaimer right here.
learn how to make Selfmade Kimchi step-by-step pictures
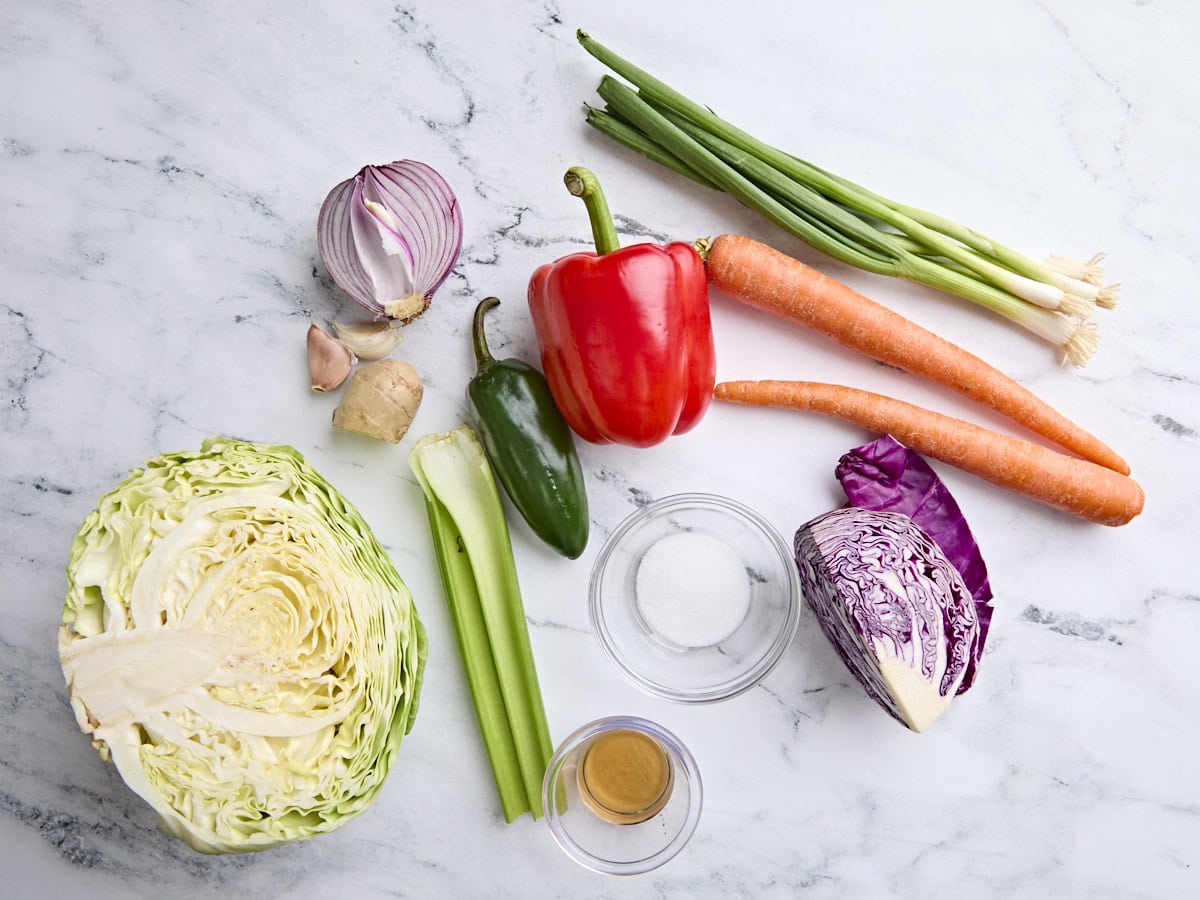
Collect your entire elements. Earlier than beginning, utterly sanitize your workspace and run three 12 oz canning jars by your dishwasher on excessive warmth to sanitize them. Or, you’ll be able to alternatively sanitize your jars by submerging them in boiling water after which permitting them to air dry. I’ve additionally shared extra on this beneath the step-by-step pictures for reference.
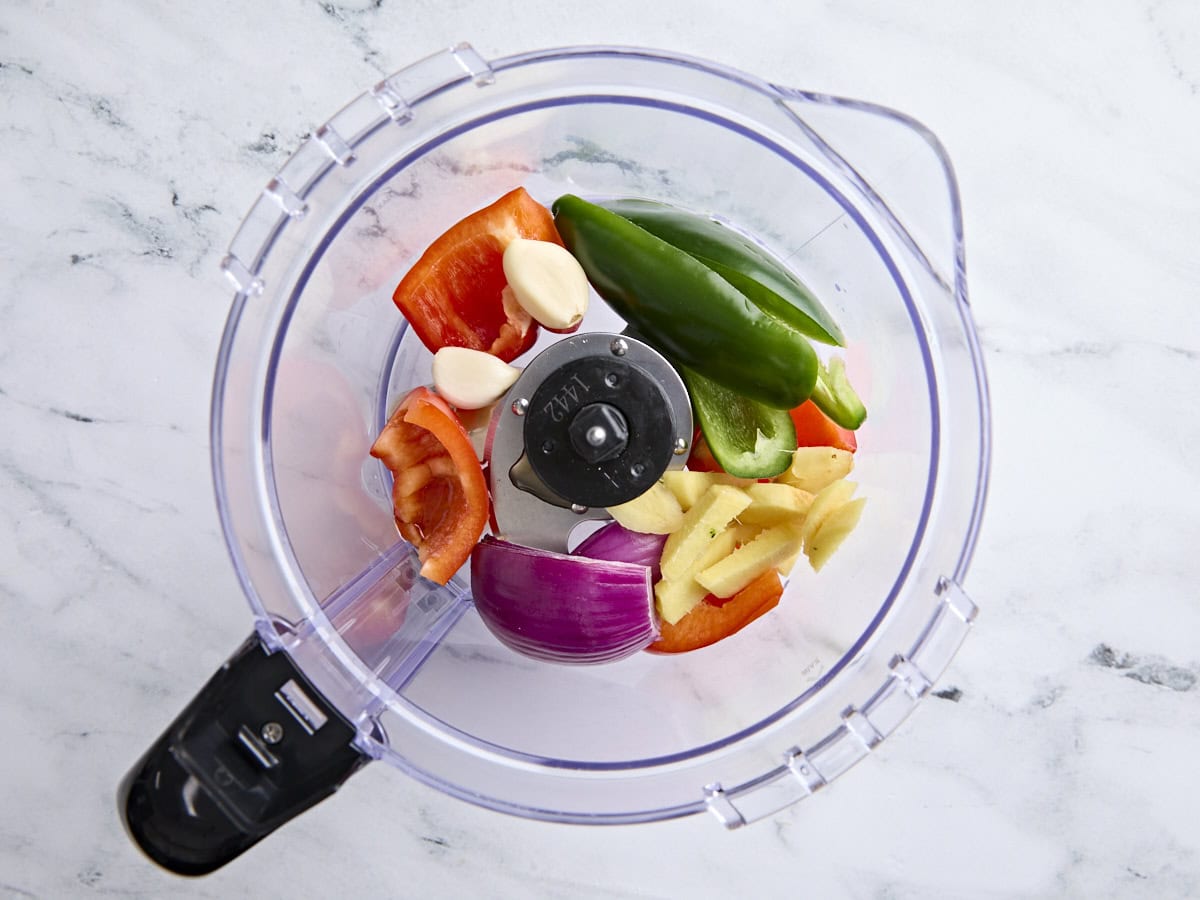
Prep the veggies: Whilst you wait in your jars to sanitize, you may get began on the greens. Add 1 Tbsp agave syrup, 1 jalapeno (seeded), ½ purple bell pepper (seeded), ¼ purple onion, 2 inch peeled recent ginger, and a couple of massive garlic cloves to a meals processor.
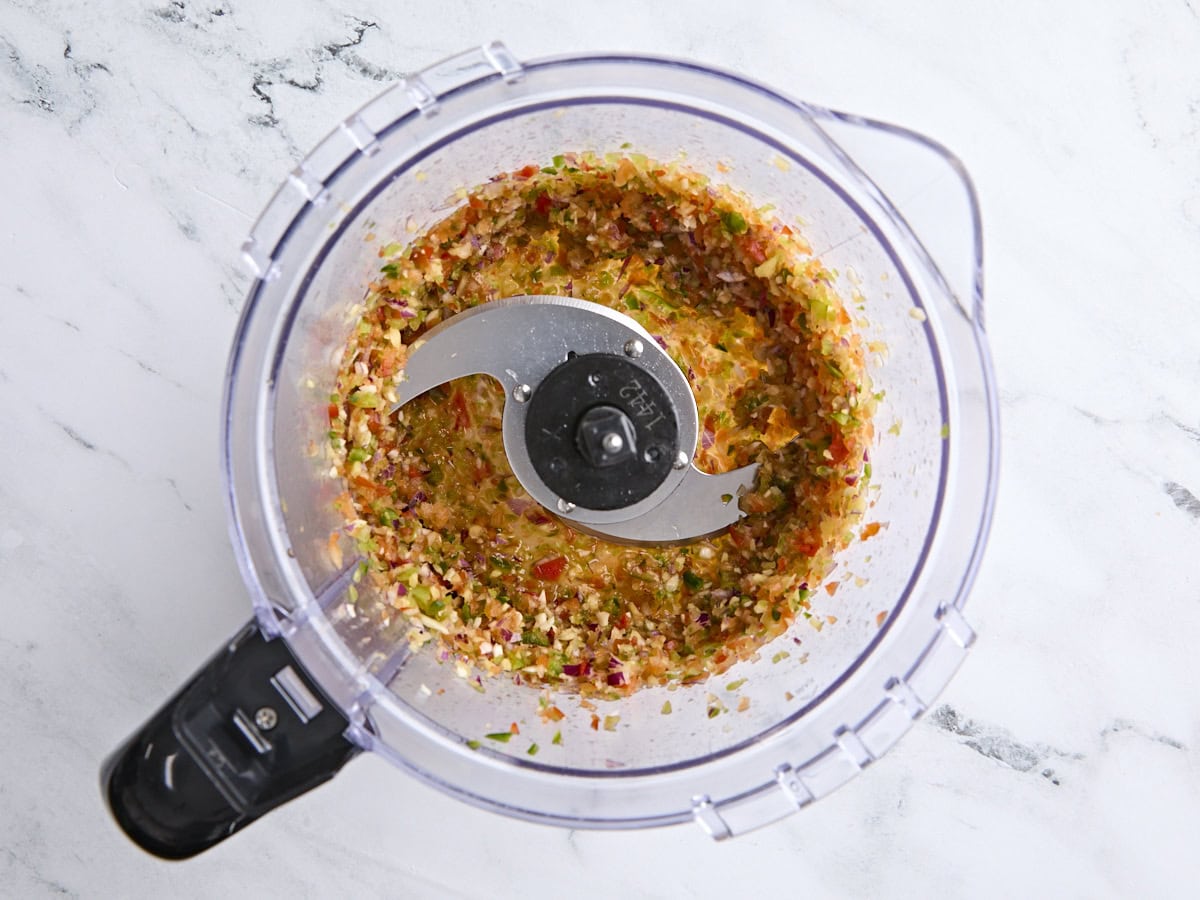
Pulse them within the meals processor till all of the veggies break down right into a paste-like consistency. Any seen veggies ought to roughly be all the identical measurement, minced. Set this combination to 1 aspect for now.
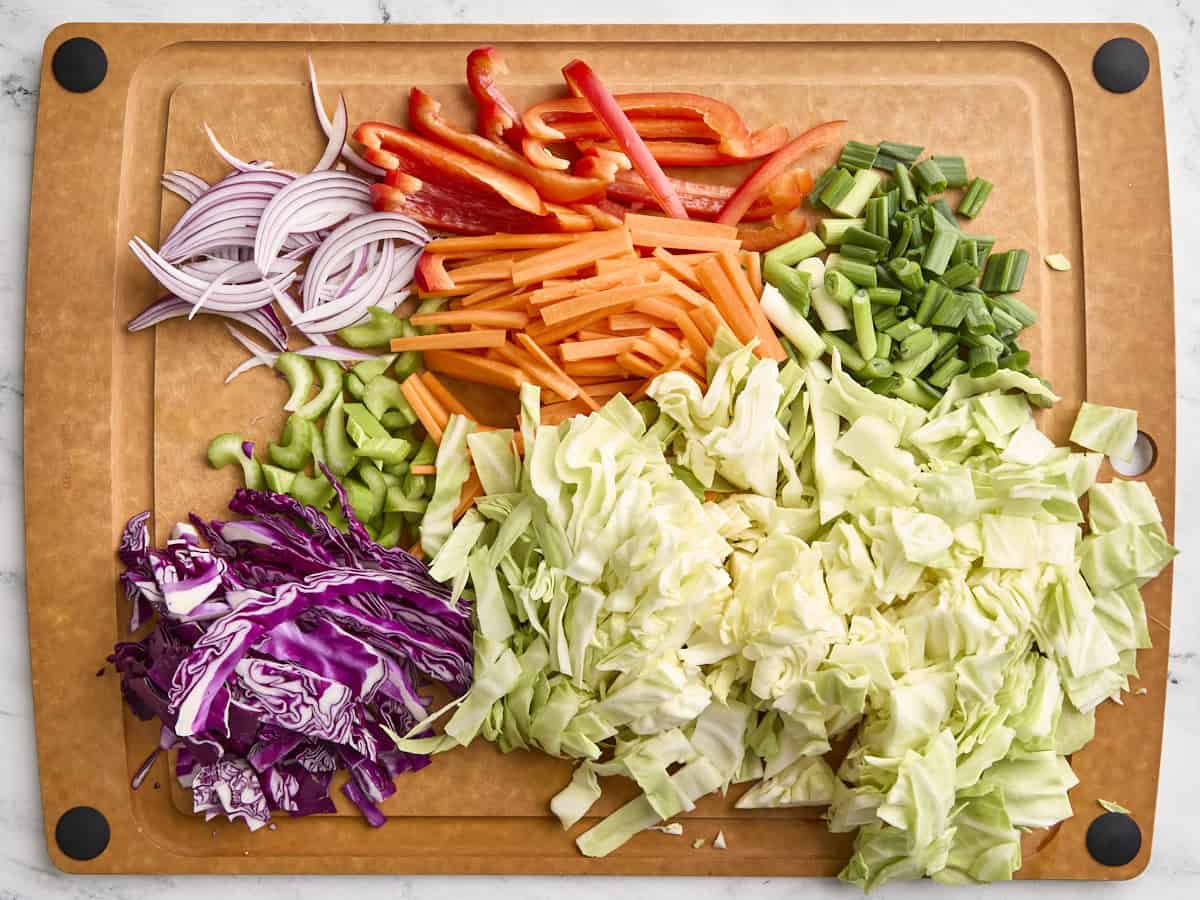
Now roughly chop or slice ½ inexperienced cabbage and ¼ purple cabbage, roughly chop 4 inexperienced onions (discarding solely the very tip of the basis), cube 2 ribs celery, julienne (thinly slice) 2 carrots, remaining ½ purple bell pepper, and remaining ¼ purple onion. You too can chop up all the pieces coarsely if desired (this recipe could be very forgiving!)
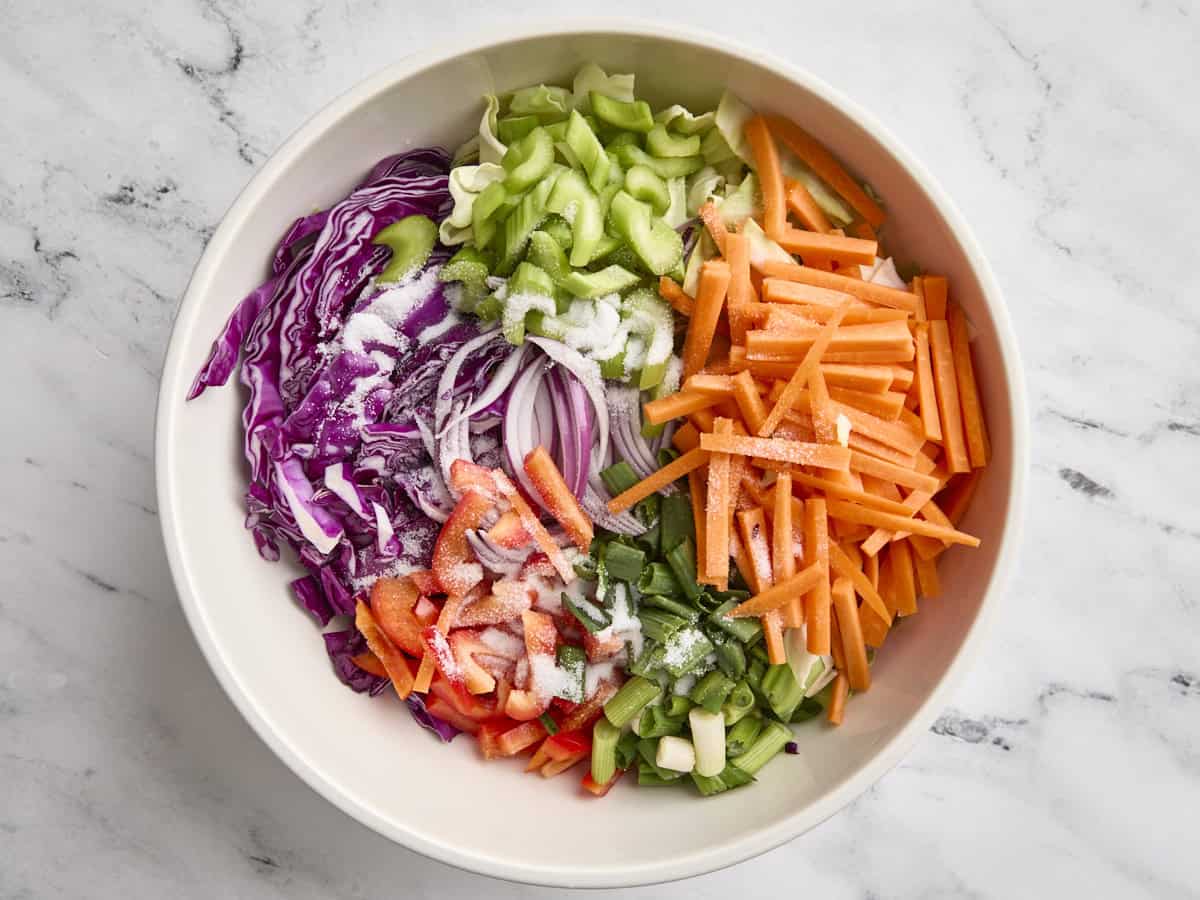
Therapeutic massage the greens: Add the prepped greens to a big mixing bowl and sprinkle with 1 Tbsp salt. With clear arms, therapeutic massage the salt into the greens till they’re all very delicate (about 10 minutes).
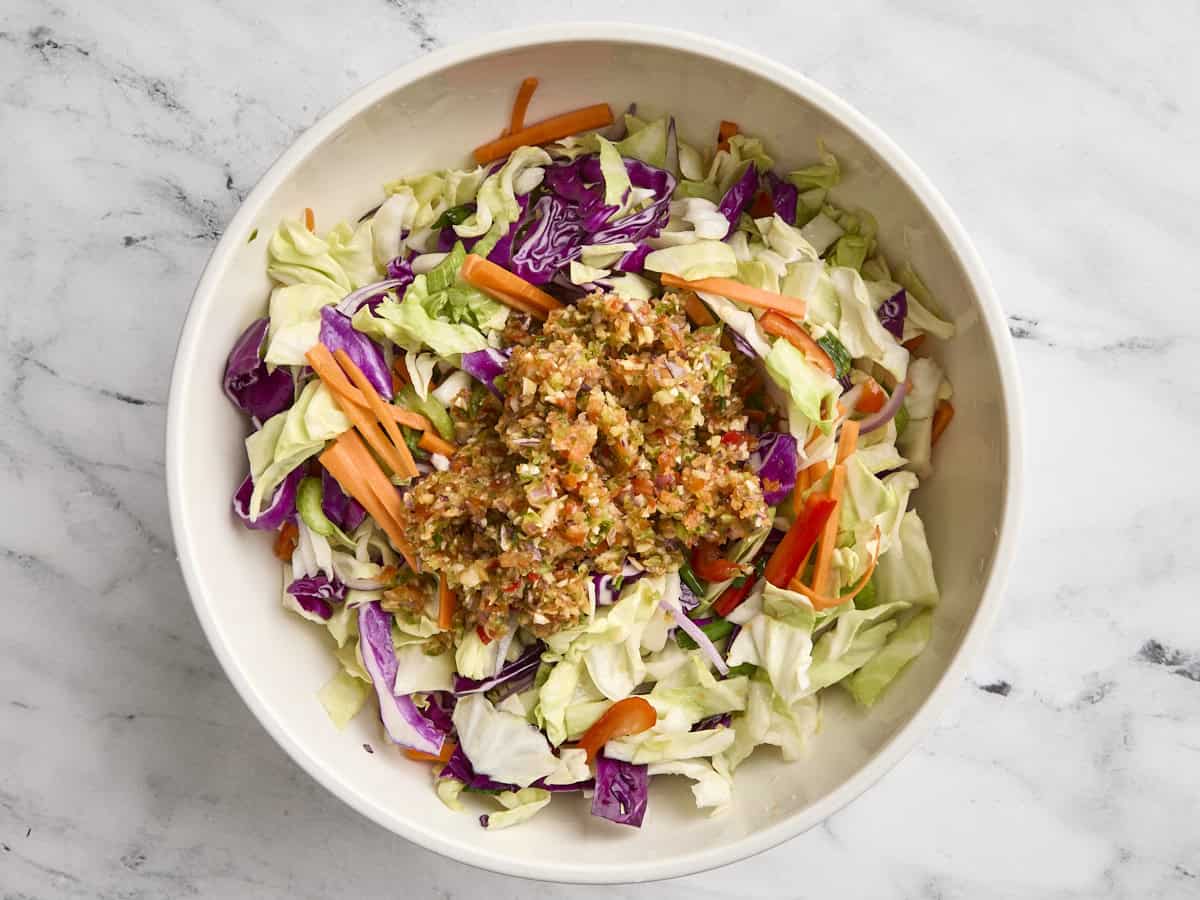
After at the least 10 minutes of massaging, add the processed greens and agave combination out of your meals processor to the bowl.
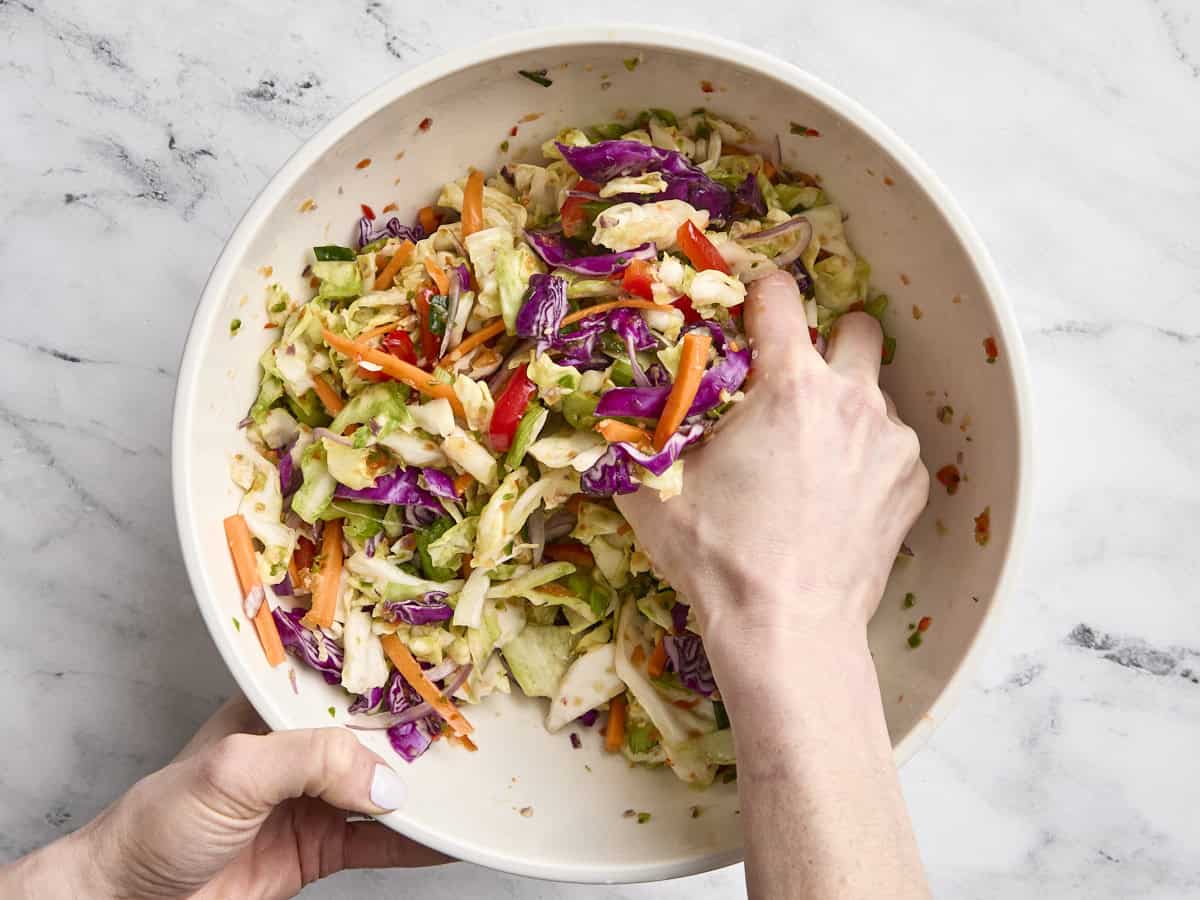
Therapeutic massage the greens with the spicy-sweet processed combination for an additional 5-10 minutes or till a big quantity of water has been launched from the veggies.
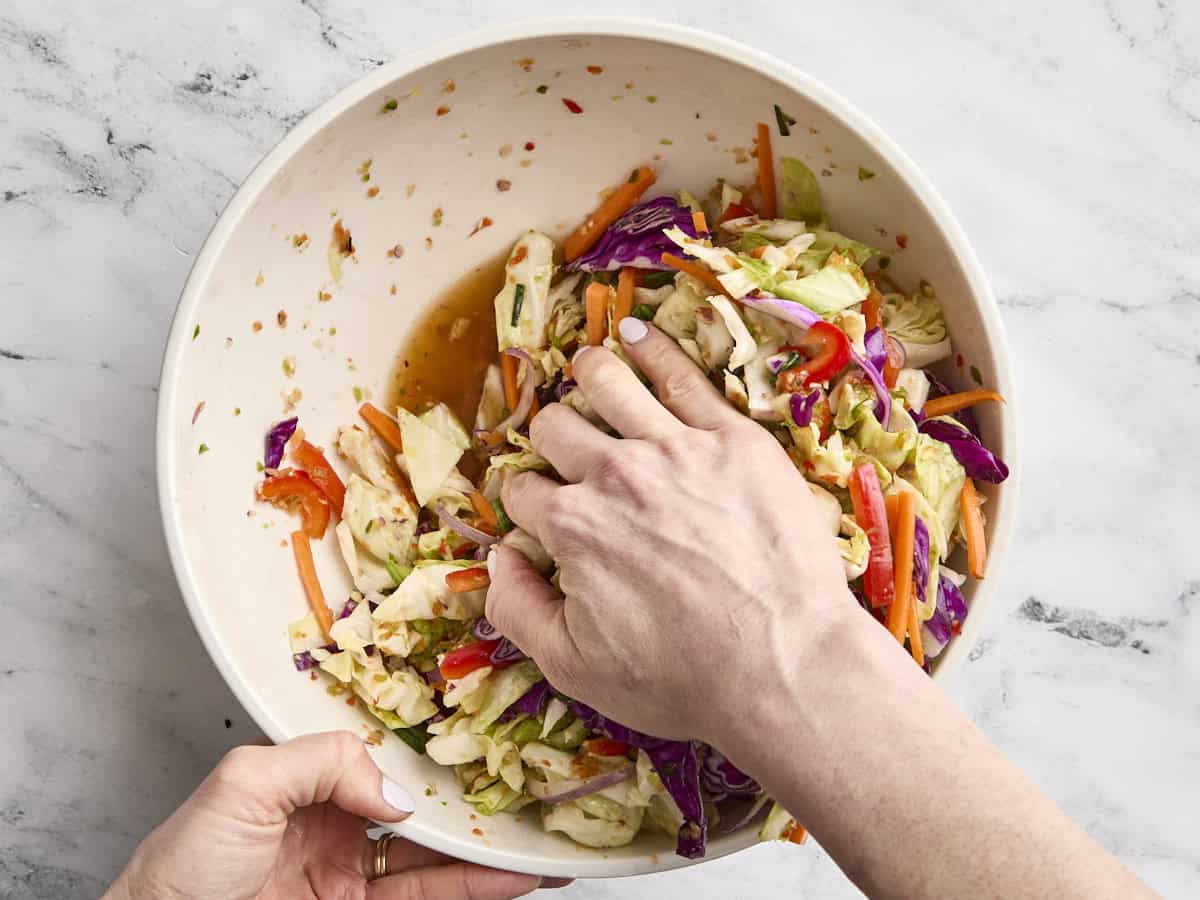
It is best to see it pooling on the backside of your bowl, as proven within the picture above.
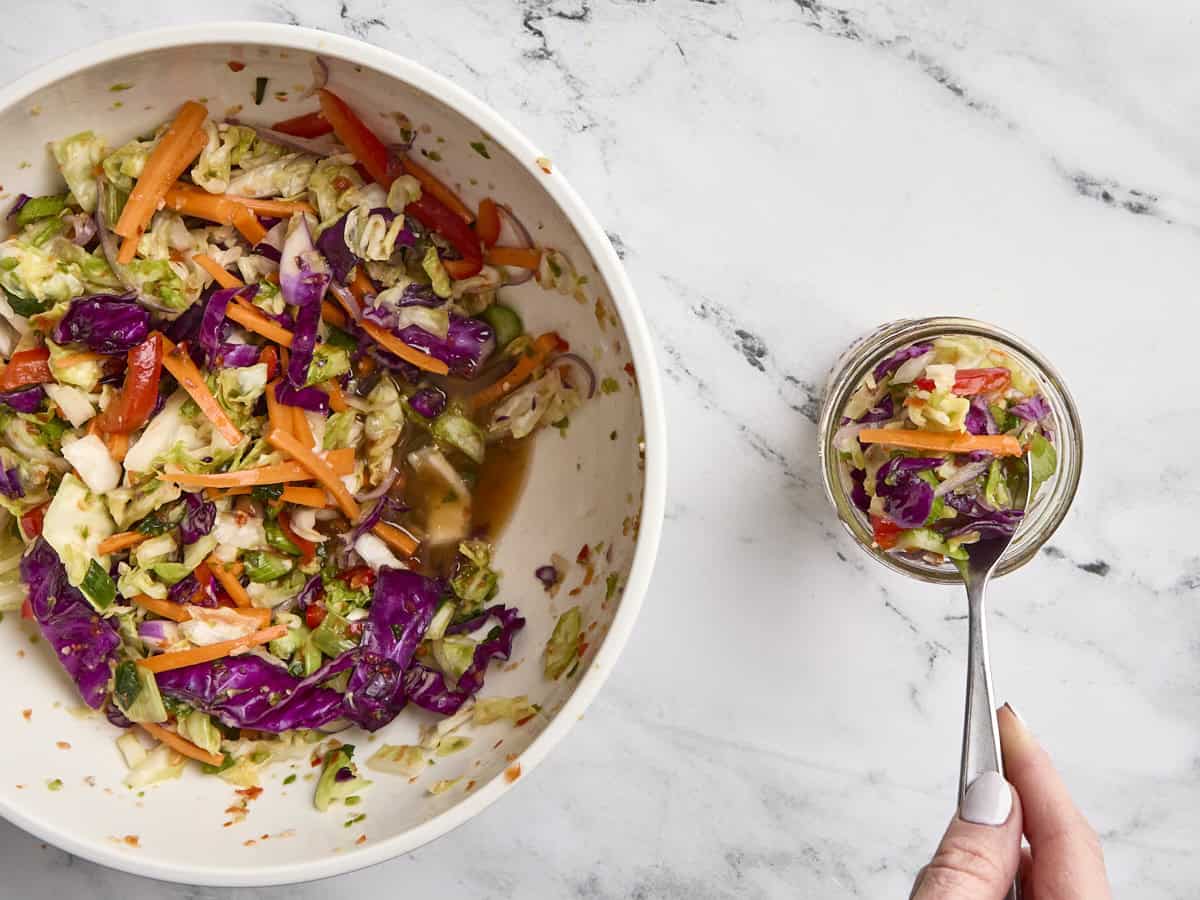
Add to jars: Once more, with clear arms, use a spoon so as to add your veggie combine to the sterilized jars.
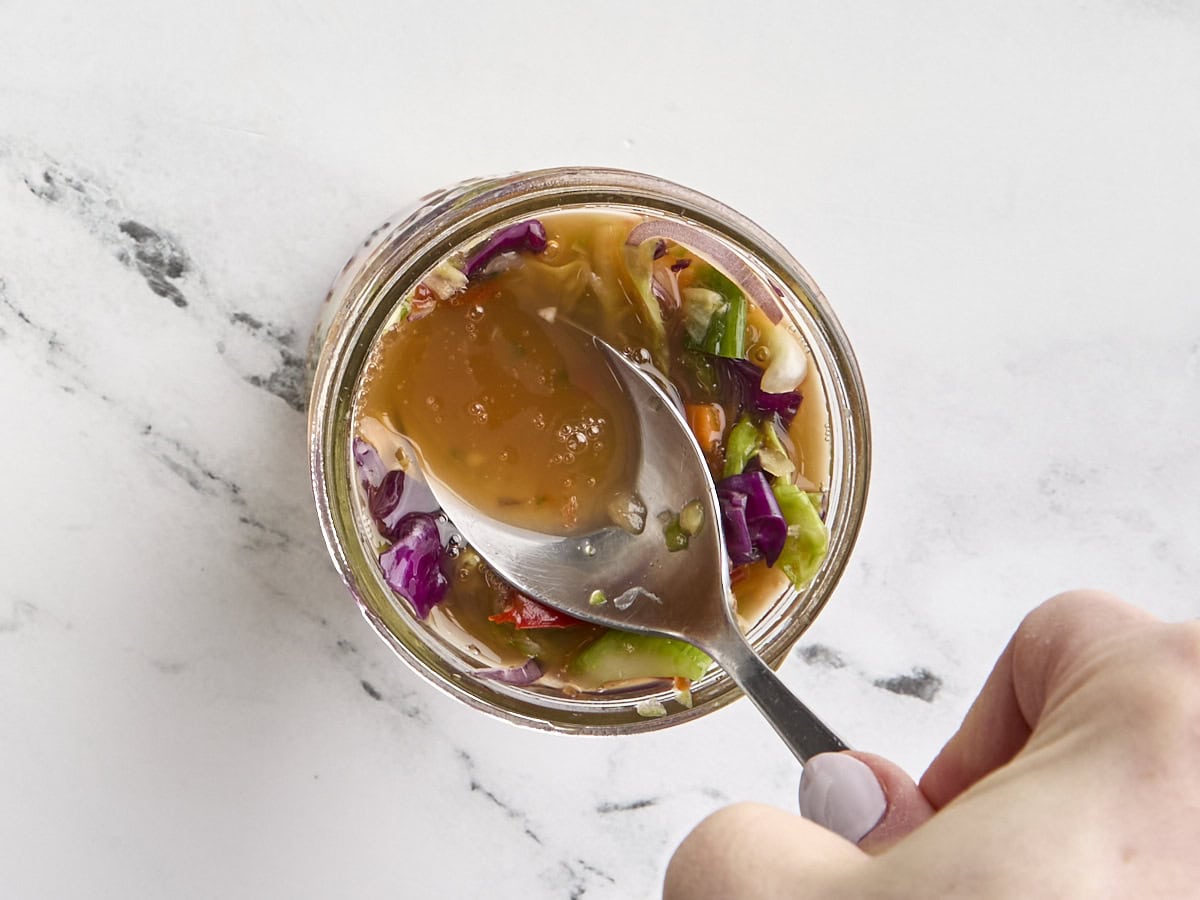
Push the combination down firmly along with your spoon as soon as full (a big quantity of liquid brine ought to rise to the highest, protecting the do-it-yourself kimchi as you push down).
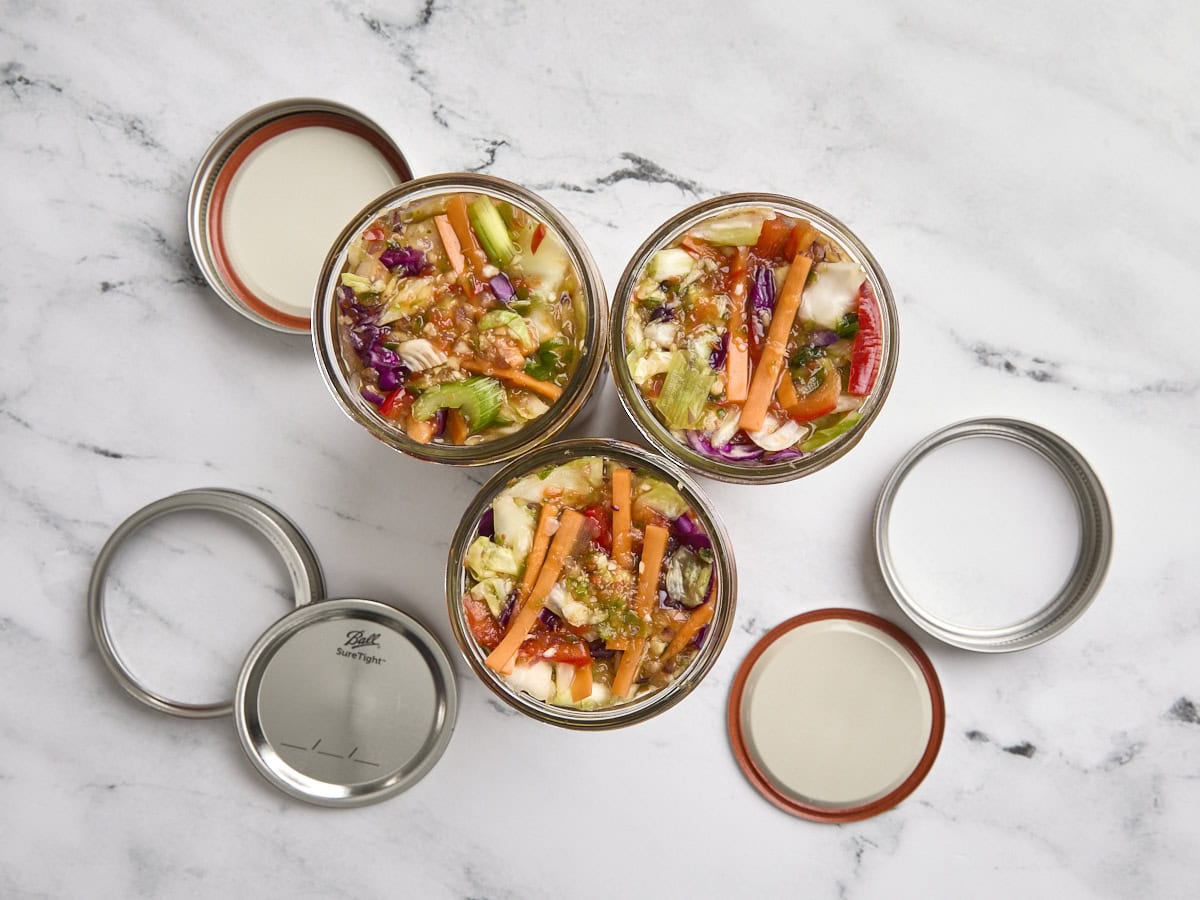
Don’t waste any of the brine from the underside of the blending bowl! Attempt to high off every jar with as a lot as you’ll be able to. You ideally need all of the veggies to be submerged within the brine for fermentation.
Ferment: Place the lids on the jars loosely and wipe down the perimeters of the jars. Now, place the jars in a darkish place in your kitchen for twenty-four hours. (I like to position my jars in a spare Tupperware container and hold them underneath the sink so they’re contained and in a heat(ish) place to assist with the early fermentation course of.)
As soon as it’s been 24 hours, fastidiously ”burp” every jar by eradicating the lid. This permits among the naturally occurring gases from the fermentation course of to flee the jars. In case your kitchen is kind of heat, it’s possible you’ll need to ”burp” your jars after 12 hours, not 24, to launch the gases and keep away from any small explosions!
After the preliminary 24-hour fermentation interval, you need to burp your jars each 8-12 hours till you see constant and lively bubbles everytime you open the lid. As quickly as you see plenty of effervescent frequently, screw the lid on tight and switch the jars into your fridge. Now it’s able to be eaten!
What’s lacto-fermentation?
I discussed lacto-fermentation earlier, however I simply needed to the touch on what that really means. It’s a pure preservation course of the place good micro organism (lactobacillus) feed on the sugars within the veggies and produce lactic acid. That acid provides kimchi its tangy taste and helps hold it suitable for eating. This is similar course of used when making sauerkraut and dill pickles. However earlier than that may occur, we have to salt the veggies.
Salting helps draw out moisture, slows the expansion of dangerous micro organism, and creates a brine that units the stage for fermentation. So, sure, all that massaging the veggies isn’t only a good exercise—it’s very important for the lacto-fermentation course of!
- CLEAN CLEAN CLEAN! Whether or not you’re experimenting with this recipe, sauerkraut, pickling, brewing beer, or making kombucha, you need to be sure you’re all the time working with clear supplies in terms of fermentation. We are attempting to advertise wholesome micro organism, not the unhealthy sort!
- Sanitize your jars. Following on from the earlier level, you should sanitize your jars earlier than beginning this recipe. Run them by the dishwasher on excessive warmth, submerge them in boiling water and allow them to air dry, or give them a shower in a food-grade hydrogen peroxide and water combine (observe the label for the right ratio and directions).
- Preserve it submerged. You should use the tough ends of your cabbage and purple onion or the butts of carrots to assist hold the ready greens submerged within the brine throughout the fermentation course of. Simply put the lid on high after you add the tough vegetable ends. Earlier than you get to the fridge step, discard these items of veggies that didn’t go beneath the brine. For those who skip this tip, you’ll be able to scrape off the highest of the kimchi if it doesn’t sit beneath the brine. (Generally this occurs if you’re brief on brine.) Every little thing beneath will likely be fermented excellent and suitable for eating!
- Don’t tighten the lid throughout fermentation. Make certain to depart the lid unfastened whereas your greens ferment. Tightening the lid too early can result in strain buildup (and presumably a kimchi explosion…not enjoyable!)
- Use a sea salt with no components. Follow plain sea salt with no components. Components can intrude with fermentation, and I need you to present these good micro organism one of the best likelihood to thrive!
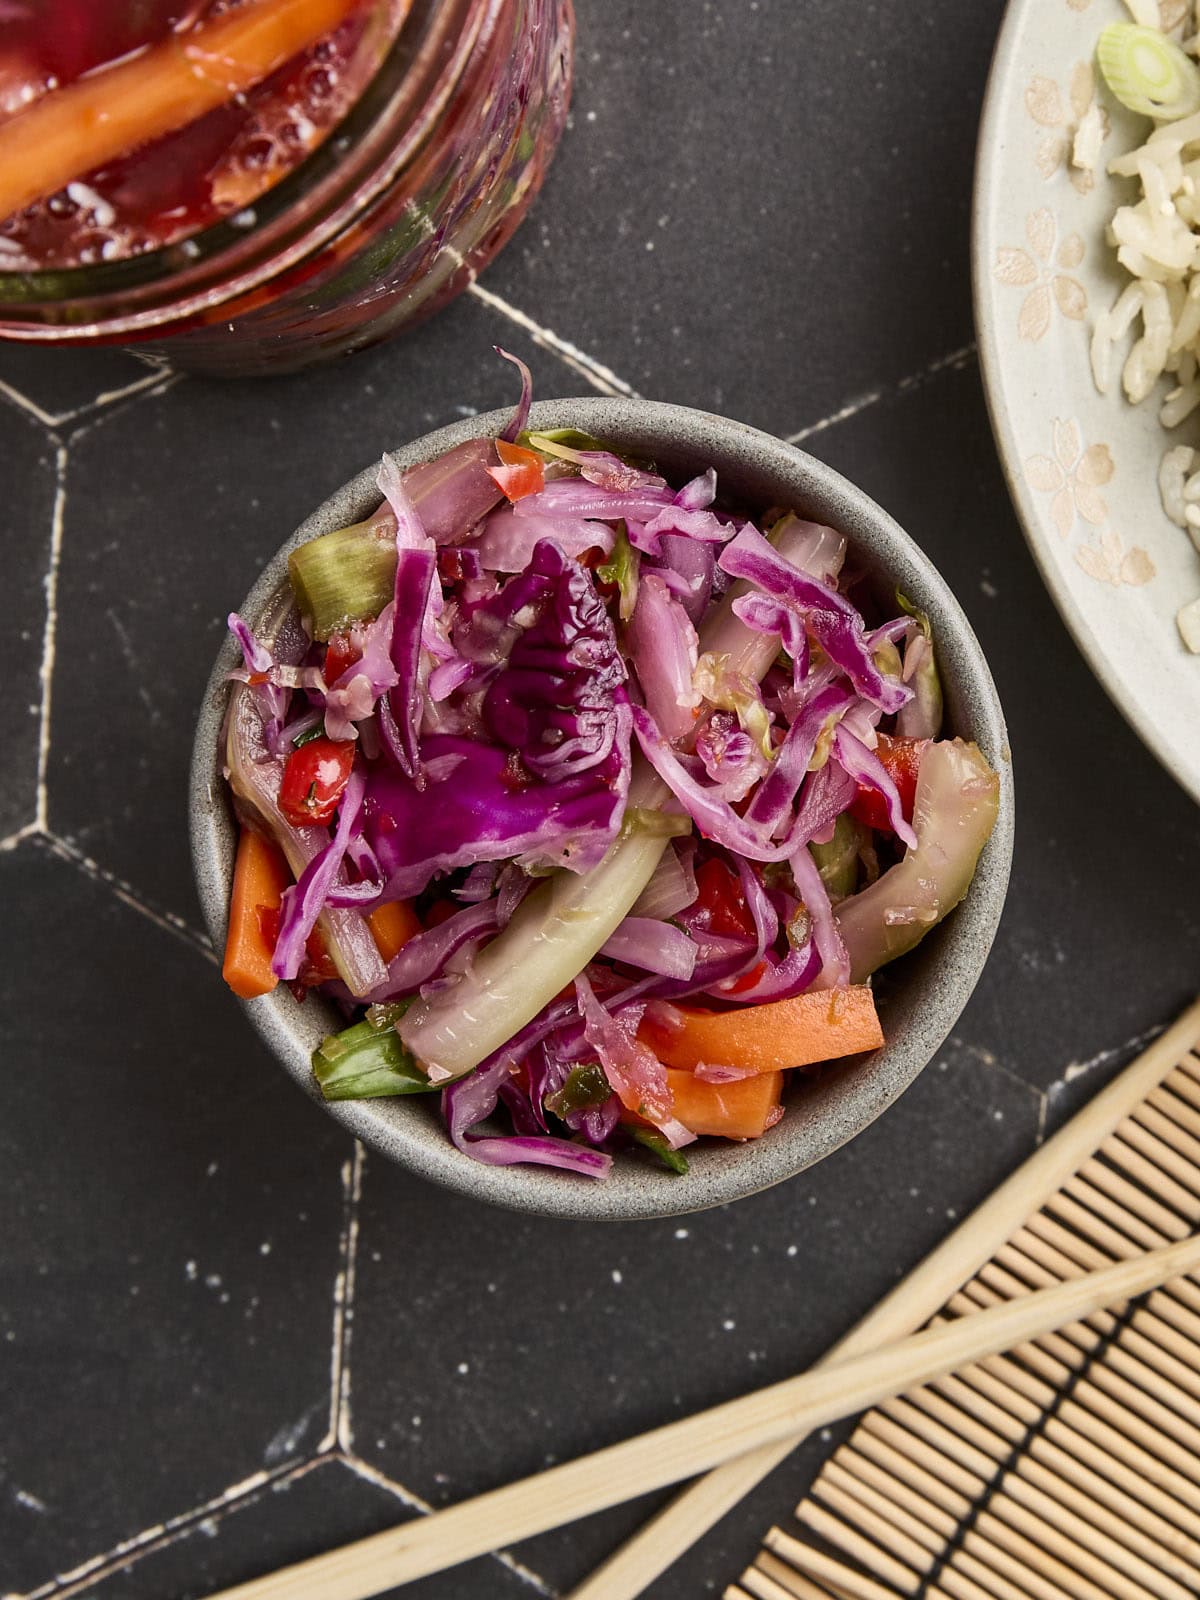
Serving Options
I like piling this recipe for kimchi on scrambled eggs…it provides simply the proper kick to a easy breakfast. For lunch or dinner, I’d toss it into fried rice or add it to a simple rice bowl (our Bibimbap recipe is ideal for this!). And, in fact, I couldn’t make my kimchi spring rolls with out it. Or, if you’d like a consolation meals twist, it’s superb in quesadillas with some melty cheese. You too can spoon it over grain bowls, stuff it into wraps and sandwiches, or add it to any salad for an additional punch of taste.
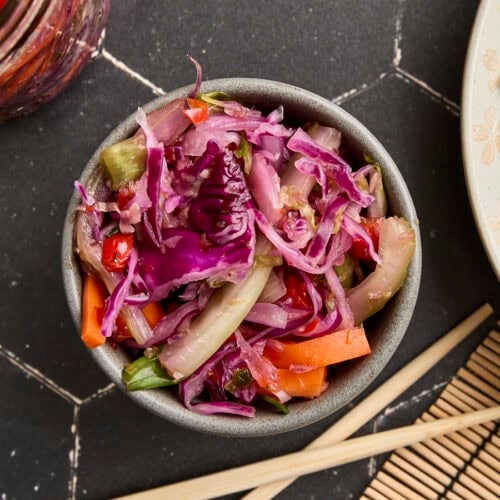
How one can Retailer
This recipe can final for a number of months in an hermetic jar within the fridge. You’ll want to use clear fingers or utensils everytime you seize some, as introducing new micro organism can shorten its life span or throw off the flavour. Additionally, be certain that the highest layer is all the time submerged underneath the brine to maintain all the pieces recent and secure. If something begins to look or odor off, it’s greatest to toss it and begin a brand new batch.