

Folks have labored with sourdough for hundreds of years, lengthy earlier than there have been little packets of sourdough starter out there on the market in shops. (The oldest identified sourdough bread dates again to 3700 BC!) So, worry not! I promise that making an energetic sourdough starter from scratch is way simpler than you’d suppose! I’ve examined nearly each attainable technique, and I’ve come to appreciate this course of may be fairly forgiving. All you want is flour, water, a little bit of endurance, and possibly a contact of religion that nature is aware of what she’s doing.
All recipes are rigorously examined in our Nashville Check Kitchen to make sure they’re straightforward, reasonably priced, and scrumptious.
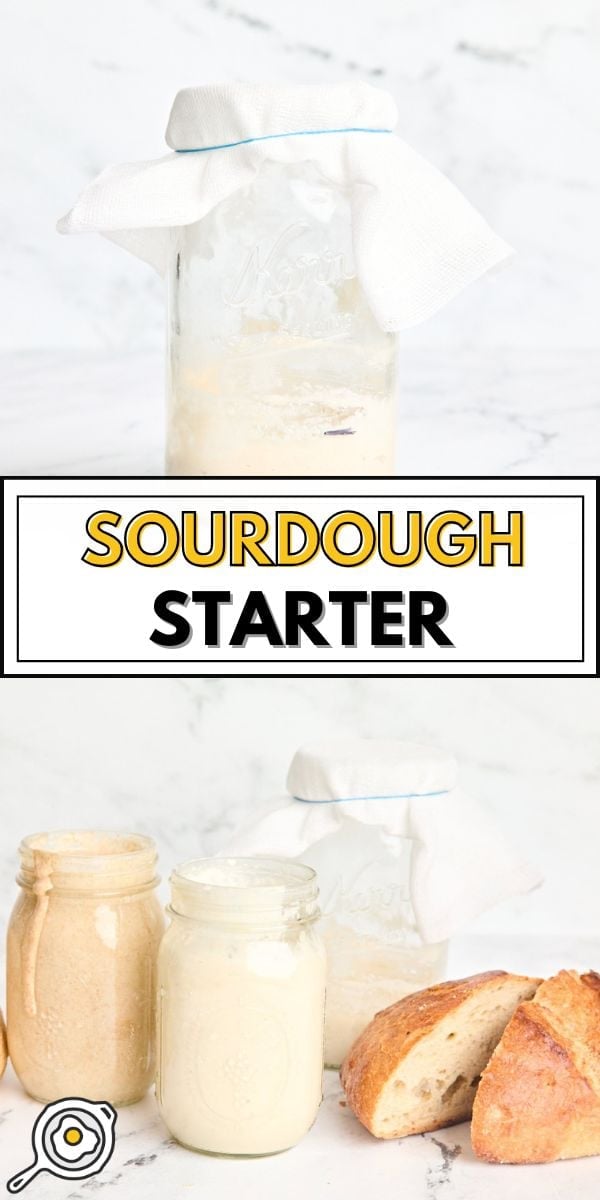
Straightforward Sourdough Starter Recipe
Sourdough starters would possibly sound a bit of mysterious at first (like some effervescent science experiment in your counter!). Actually, it’s only a fermented mixture of flour and water that thrives on the pure wild yeast discovered within the flour and the surroundings (yep, there’s yeast within the air!). For a couple of week or two, you’ll “feed” it, and shortly, it’ll grow to be vigorous, bubbly, and able to bake with. You’ll use this combination as a pure leavening agent when making sourdough bread, creating that deliciously tangy taste and chewy texture with no industrial yeast wanted. And, when you’ve bought it going, you should utilize it for a lot extra than simply bread. Pancakes, crackers, biscuits…don’t even get me began! (Keep tuned for my tremendous straightforward, budget-friendly sourdough bread recipe coming quickly!)
The strategy I take advantage of under is for a 100% hydration starter, which implies it’s made with equal components flour and water. That is by far the best, most beginner-friendly option to create a starter, and it’s the proper start line for almost anybody. My solely recommendation? Learn by means of all my ideas and notes under earlier than you dive in!
Sourdough Starter
Discover ways to make an energetic Sourdough Starter from scratch utilizing all-purpose flour and water! Uncover EVERYTHING you have to know on this straightforward information.
Forestall your display screen from going darkish
- 75 g water (or ½ cup water)* ($0.00)
- 75 g all-purpose flour (or ½ cup flour) ($0.07)
Instructions for Day 1
-
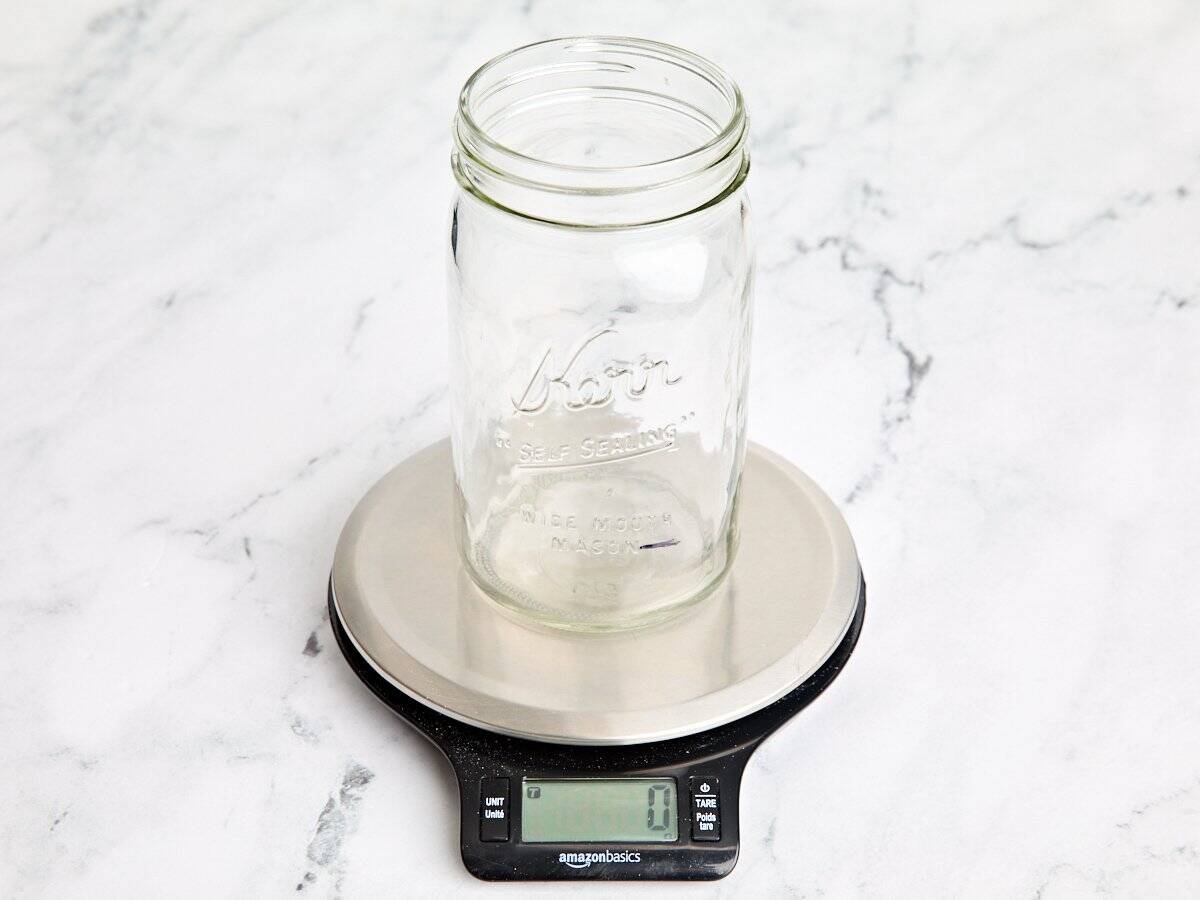
Sanitize a big mason jar and nil it out (or “tare”) on a kitchen scale set to measure grams.**
-
Add 75g of all function flour to the jar. For me, this was ½ cup of flour.
-
Zero out the size once more by urgent the “tare” button, and add 75g of water. Should you don’t have a kitchen scale, simply use a 1:1 ratio of water to flour all through all the course of. So, when you add ½ cup of flour, add ½ cup of water.
-
Stir the flour and water along with a clear spoon and canopy the jar with a chunk of cheesecloth, a espresso filter, or a clear, dry paper towel.*** Safe the fabric with an elastic or butcher twine. You wish to be sure to give it stir—oxygen is critical when making sourdough starter!
-
Let it sit on the counter for twenty-four hours in a 75-80 diploma heat spot. I prefer to make a bit of line on the glass jar with a everlasting marker so I can see how a lot my starter grows because it develops over the course of the week.
Instructions for Day 2
-
Give your starter a stir with a clear spoon. Bear in mind, oxygen is sweet for the method! Let it sit for Day 2 undisturbed within the 75-80 diploma heat spot whereas it develops a bit extra. You might even see bubbles on day 2, or chances are you’ll not. Belief the method!
Instructions for Day 3 to (probably) Day 14
-
It’s feeding time! Take away half of the sourdough starter from the jar. That is your discard! Use a spoon and scoop it out…eyeball what’s “half”, or use your scale. Bear in mind to issue within the weight of the empty jar when you’re utilizing a scale to get the precise quantity.
-
To the jar, add 75g of all-purpose flour and 75g of water. Combine with a clear spoon till utterly easy. It is going to appear to be thick pancake or muffin batter.
-
Cowl with a espresso filter, paper towel, or cheese fabric with an elastic band and let it sit on the countertop for 12-24 hours.
-
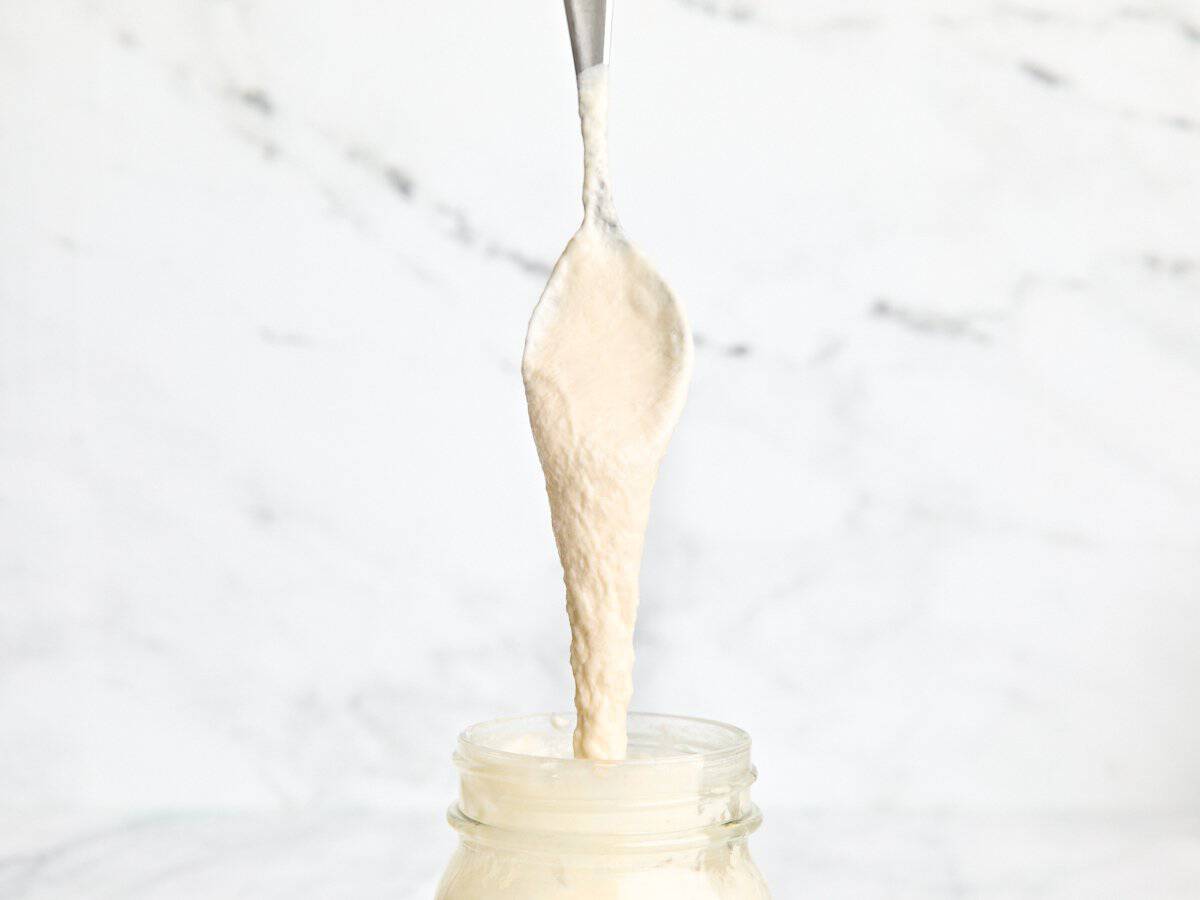
Repeat these steps again and again till it has doubled in dimension (at the least 250-300g), has constant bubbles, smells pleasantly yeasty, and seems to be the feel of marshmallow fluff!
-
Title your starter! It’s the “mom” of each loaf of bread you’ll make from right here on out…Plus, it’s unhealthy luck when you don’t! (Mine are named Agnes and Rita after my grandmothers!)
See how we calculate recipe prices right here.
**Be aware of the burden of your empty glass jar. It’ll turn out to be useful on Day 3 and past when it comes time to discard and feed. If you aren’t utilizing a scale, don’t fear about this notice.
***I like to recommend a espresso filter or cheesecloth to keep away from any paper towel “fuzz” stepping into your starter, however a clear, dry paper towel will work in a pinch!
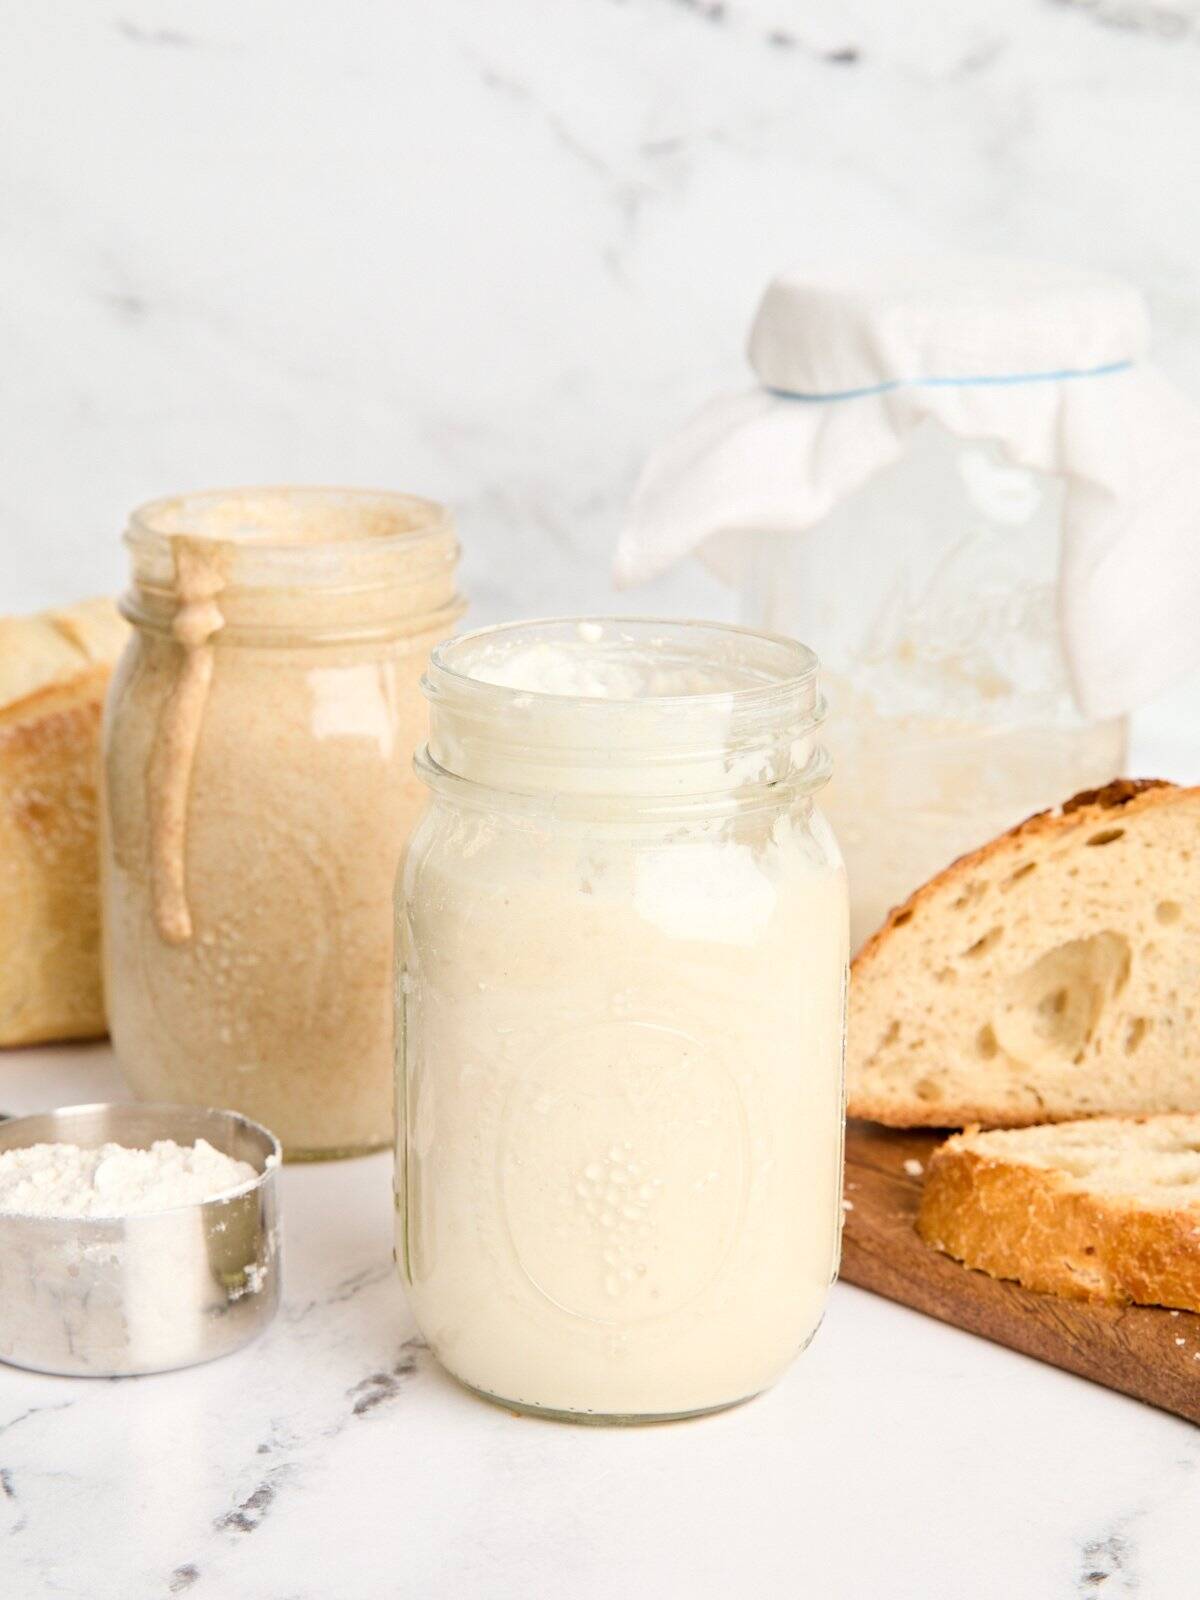
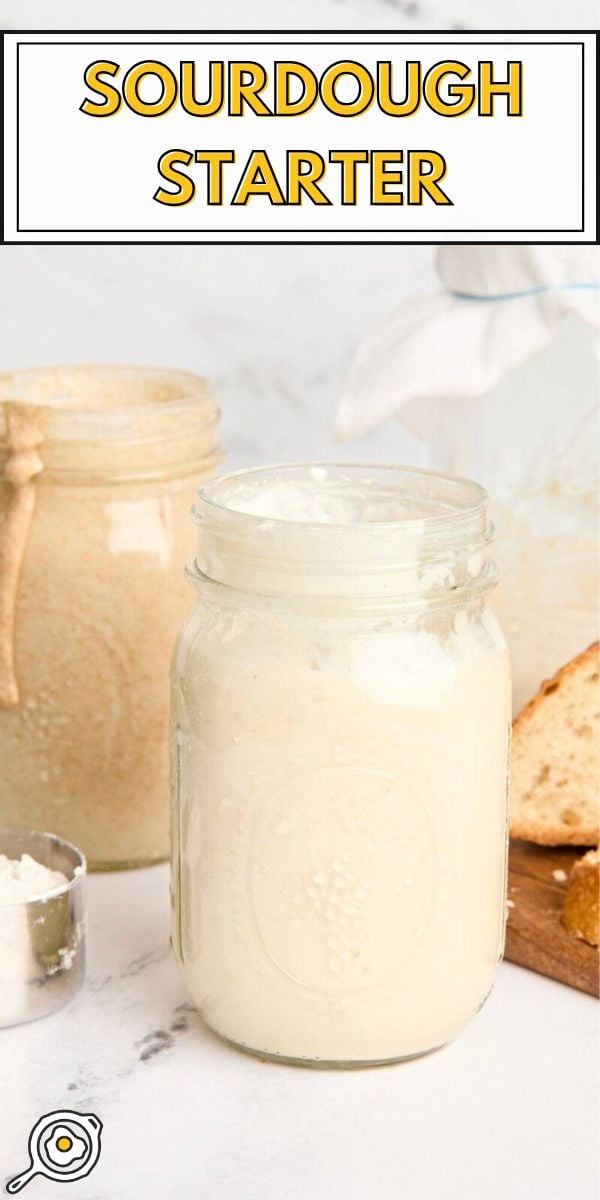
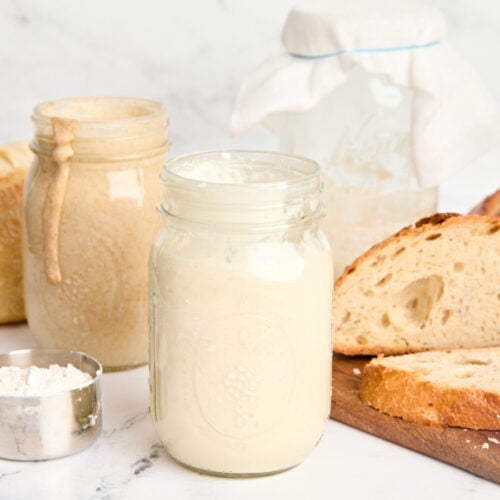
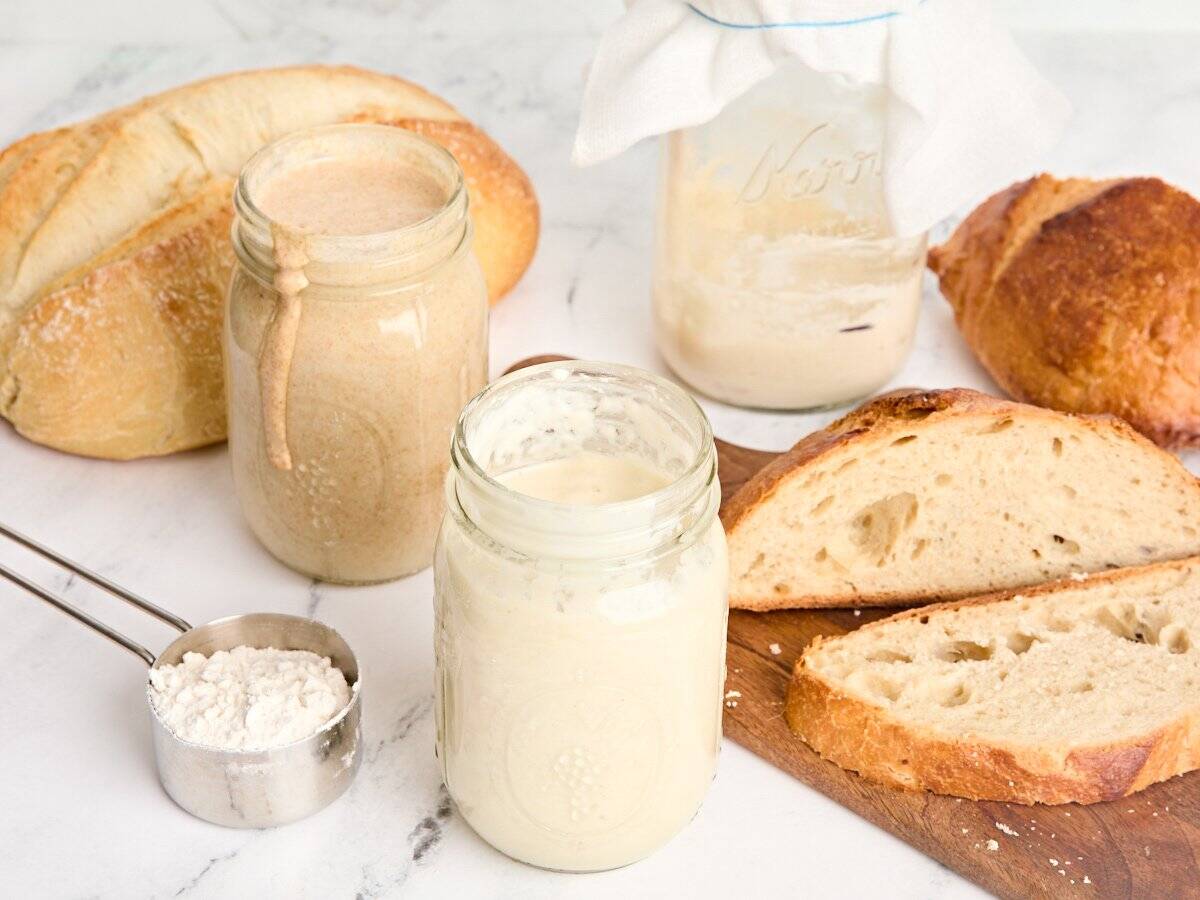
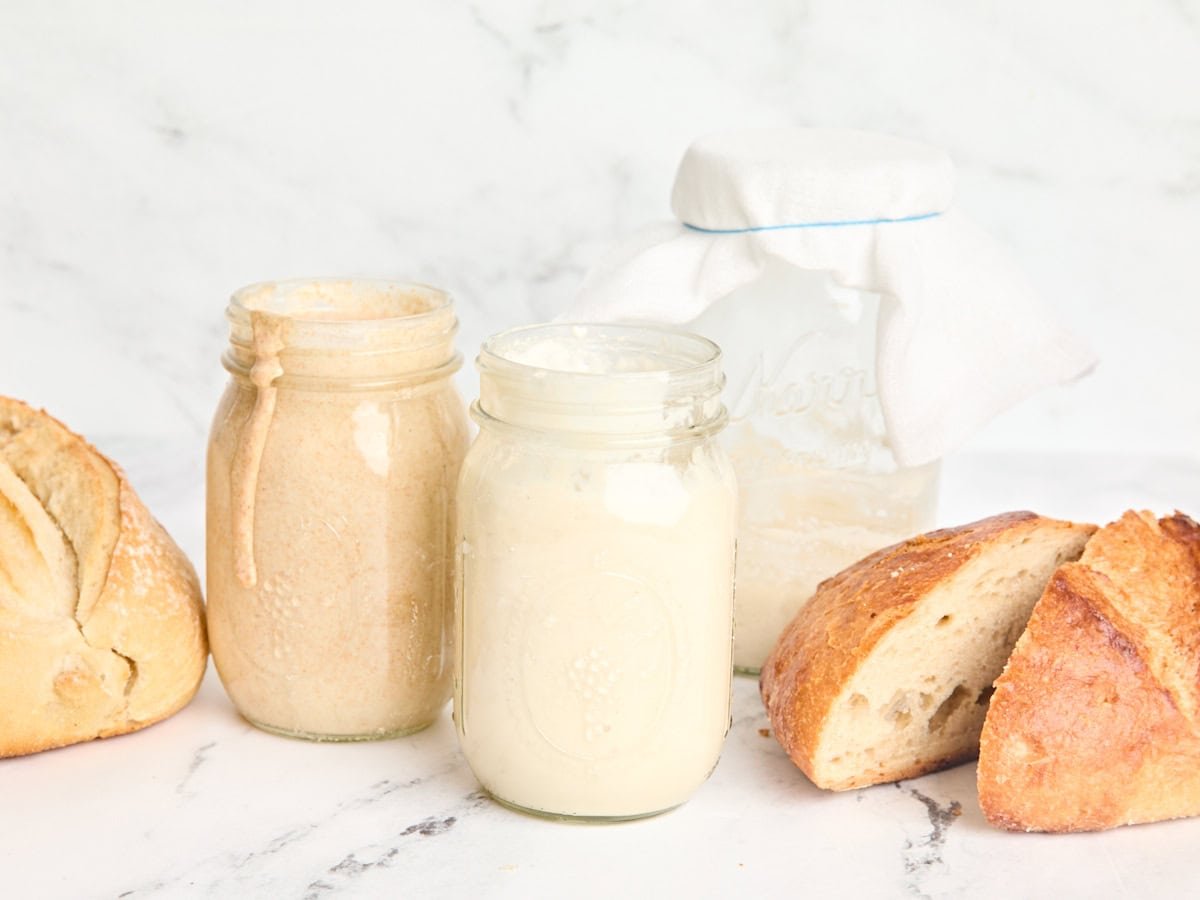
A NOTE ON THE FLOUR USED
You’ll discover within the pictures I’ve 2 sorts of starters proven. One was began with entire wheat flour, and the opposite was pure all-purpose flour. Loads of folks prefer to make theirs with entire wheat at first, then feed after the preliminary creation with all-purpose or bread flour. This is basically as much as you. I’ve made profitable starters following all these strategies, together with utilizing bleached and unbleached all-purpose flour. It’ll take plenty of trial and error so that you can understand what you personally favor—which is okay as a result of making a sourdough starter is CHEAP!
PREP TIME
The entire prep time can take anyplace from 1 to 2 weeks, relying on varied components just like the temperature of your kitchen. See my recipe success ideas beneath the step-by-step pictures under for extra data.
Learn our full diet disclaimer right here.
find out how to make a Sourdough Starter step-by-step pictures
Instructions for Day 1
Set a big, sanitized mason jar on a kitchen scale and make a remark of the burden (realizing how a lot your empty jar weighs will assist in a number of days’ time when it’s feeding time!) When you’ve made a notice of the burden of your jar, zero it out (by clicking the tare button) to set the size to 0.
You’ll be able to ignore this step when you gained’t be utilizing a kitchen scale.
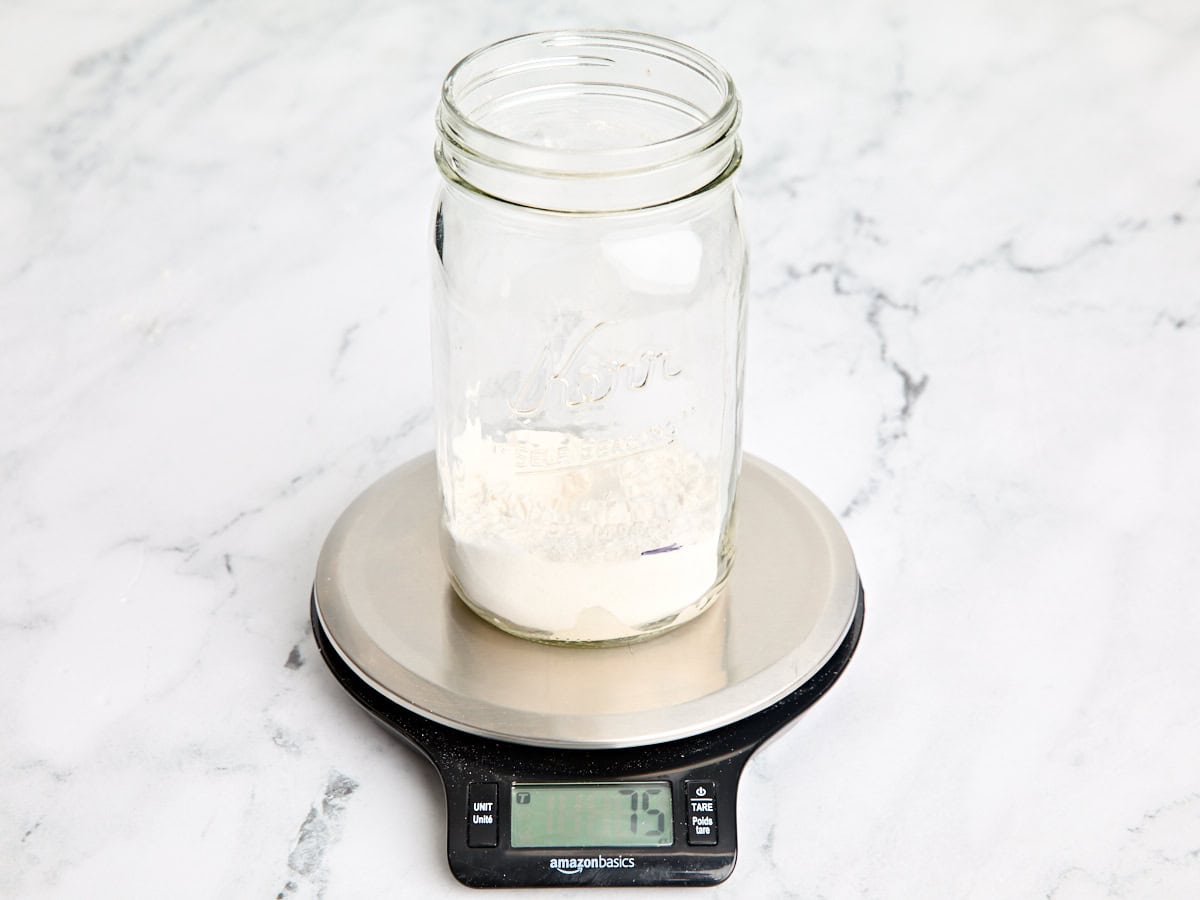
Add 75g of all function flour to the jar. This was equal to ½ cup of flour for me.
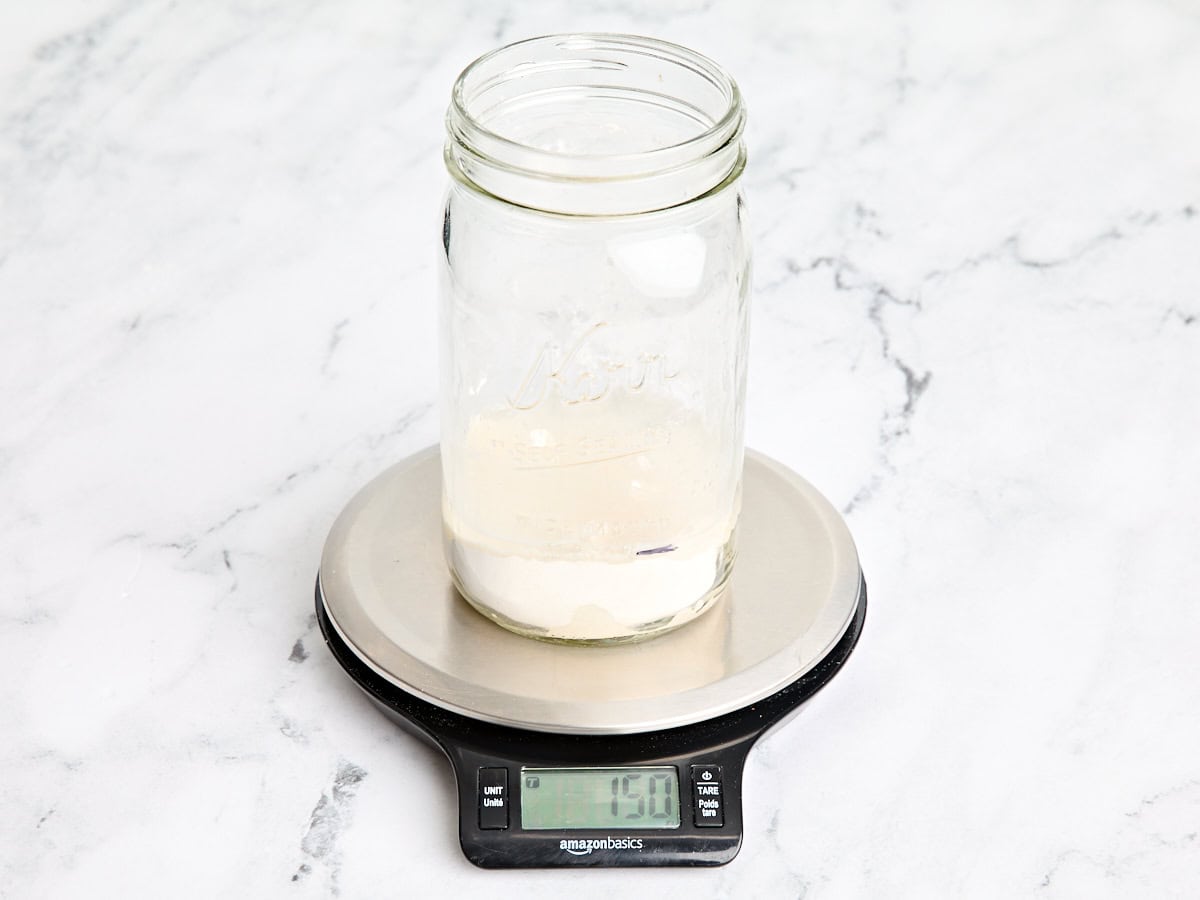
Now add 75g of water. Should you’re not utilizing a kitchen scale, you wish to use a 1:1 ratio of water to flour all through the entire course of. So, when you use ½ a cup of flour, you also needs to use ½ a cup of water.
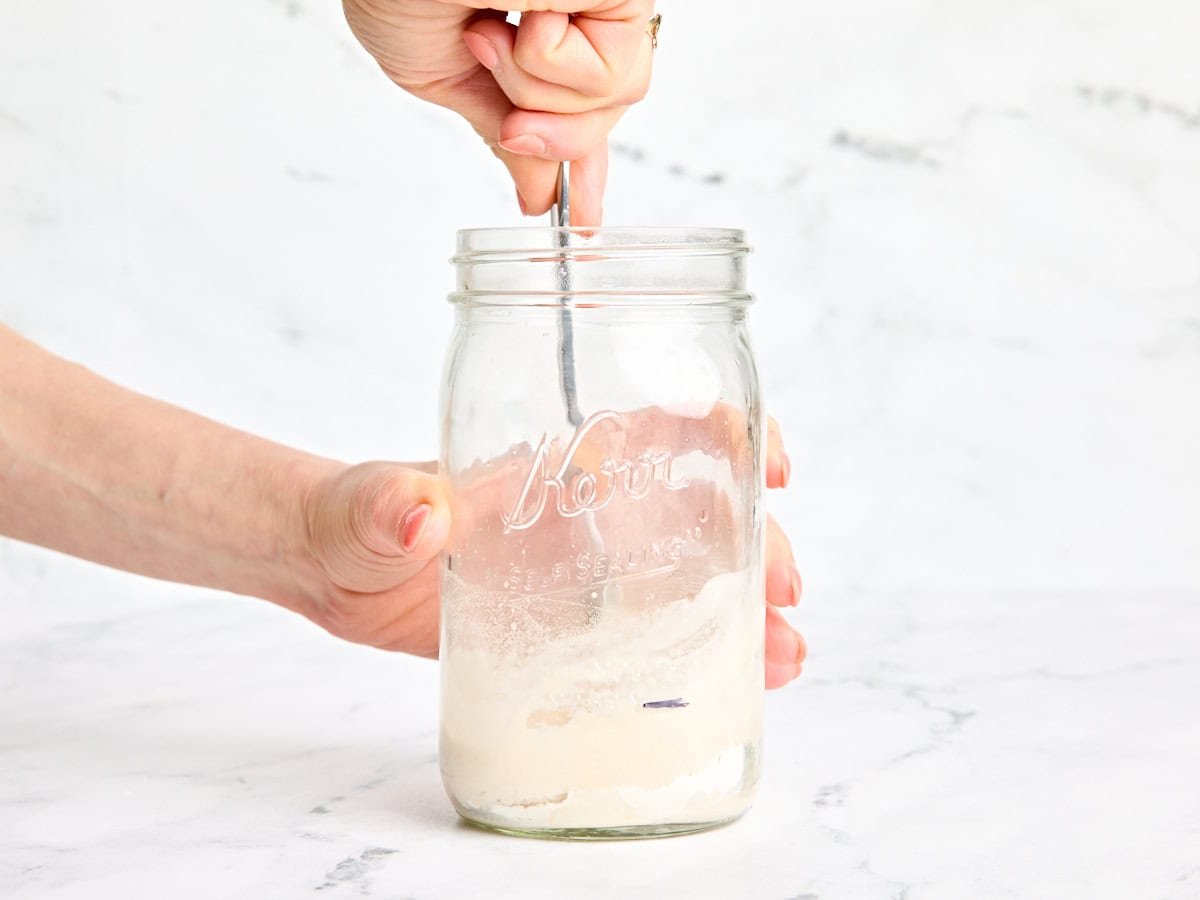
Use a clear spoon to stir your flour and water collectively rather well. Don’t be shy—give it combine! You wish to make certain there aren’t any dry pockets of flour hiding on the backside of the jar. Stirring not solely helps the whole lot mix, nevertheless it additionally introduces oxygen, which helps the expansion of untamed yeast within the early days.
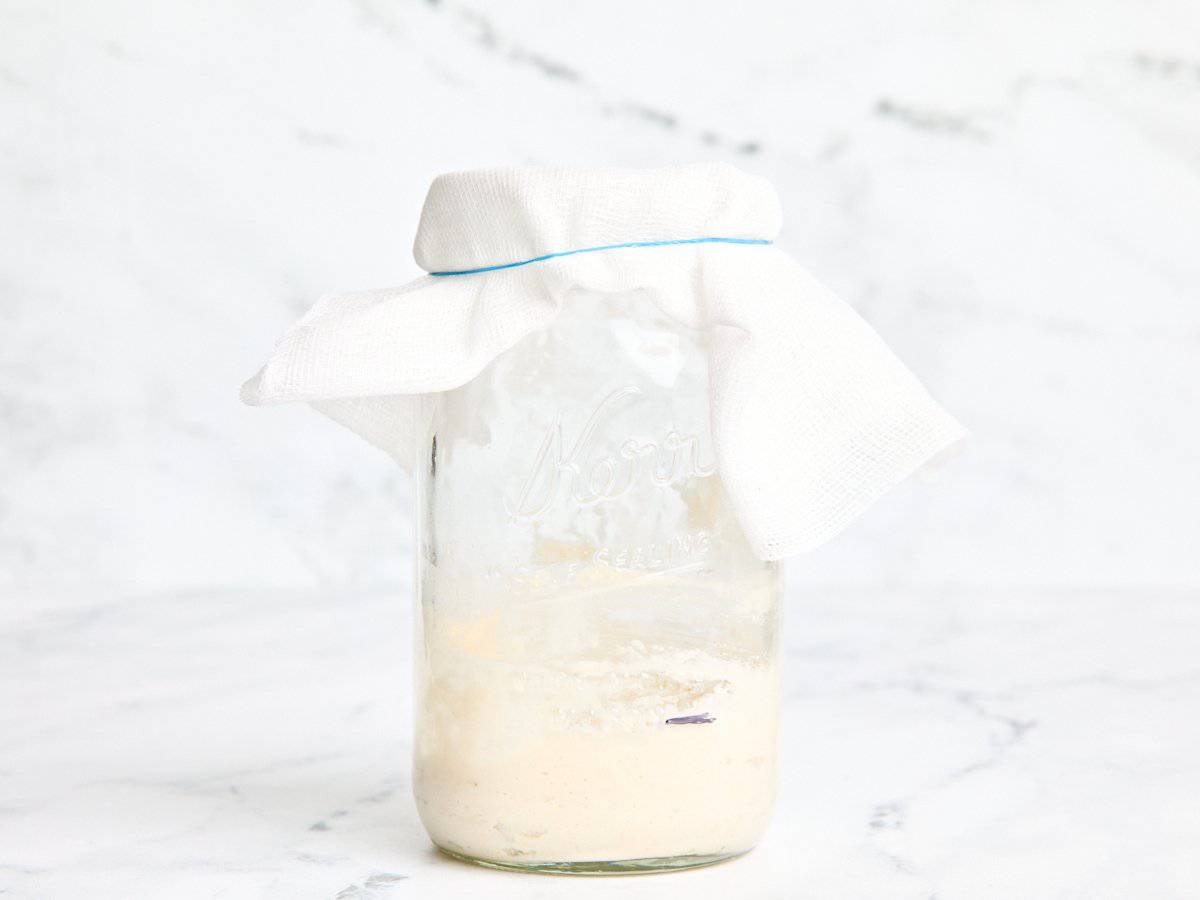
Now, cowl your jar with a chunk of cheesecloth, a espresso filter, or a clear, dry paper towel. I personally favor utilizing cheesecloth or a espresso filter to keep away from any paper towel fuzz from stepping into the jar, however a clear, dry paper towel will work in a pinch! Use elastic or butcher twine to safe the fabric.
Let your jar sit on the counter, as is, in a 75-80 diploma heat spot for twenty-four hours. I draw a bit of line on the skin of the jar utilizing a everlasting marker so I can see how a lot my starter grows because it develops over the course of the week. You may additionally use a rubber band or tape to mark your start line.
Instructions for Day 2
After 24 hours, stir the whole lot with a clear spoon. We actually wish to incorporate as a lot air as attainable right here to assist kickstart the fermentation course of! Safe the fabric once more with an elastic or butcher twine and let it sit for Day 2 undisturbed within the 75-80 diploma heat spot. You would possibly see some bubbles on this present day…otherwise you may not. Belief the method!
Instructions for Day 3 to (probably) Day 14
- Now it’s feeding time! Take away half of your starter out of your jar utilizing a spoon. This is named your discard. You’ll be able to both use your scale (factoring within the weight of your jar) to take away precisely half or eyeball what’s ‘half.’ Eradicating some earlier than feeding helps preserve it at a manageable dimension and ensures that the wild yeast and micro organism have sufficient contemporary meals (aka flour!) to remain energetic and glad.
- Add 75g of all-purpose flour and 75g of water to the jar. Give it a mixture with a clear spoon till easy. It’ll resemble thick pancake batter at this level.
- Cowl the jar with a cheesecloth, espresso filter, or paper towel, and safe it with an elastic band. Place it again in its heat spot for 12-24 hours.
- Maintain repeating the discard and feeding course of again and again till it has doubled in dimension (it ought to weigh at the least 250-300g, once more factoring within the weight of the empty jar), has constant bubbles, smells yeasty, rises and falls predictably, and has the feel of marshmallow fluff.
- I additionally suggest naming your starter! It’s the “mom” of each loaf of bread you’ll make from right here on out…plus, it’s unhealthy luck when you don’t! 😉 (Mine are named Agnes and Rita after my grandmothers!)
Feeding Your Sourdough Starter
While you feed your do-it-yourself starter, there are a few methods to do it: You’ll be able to weigh it out utilizing a kitchen scale, or you should utilize quantity measurements, like primary measuring cups. Use whichever technique is best for you. I promise this straightforward recipe will be just right for you regardless of which technique you select.
As soon as it’s alive and nicely, you modify the ratio from 1:1 to 1:1:1, which means when you’ve got 75g of starter, you’ll wish to add 75g of flour and 75g of water whenever you feed it. Nevertheless, I discover that if I’m utilizing the measuring cup technique, including a bit of further flour yields one of the best outcomes. So, I’ll use ½ cup starter, ½ cup of water, and about ¾ cup of flour.
When you get the system down, keep it up! You’ll see your sourdough will ultimately double in dimension each time you feed it as soon as it’s actually energetic. Then, it’s time to feed it once more—or bake, relying on how a lot you’ve!
How Do I Know When It’s Prepared To Use?
Some folks use the ‘float check’ to examine if their starter is prepared. To do that, drop a small spoonful of starter right into a glass of water to see if it floats. If it floats, it’s prepared to make use of. Personally, I do know when mine is able to bake with as soon as it has doubled in dimension, has numerous bubbles, and I’ve sufficient for 1 loaf of bread. This may take anyplace from one to 2 weeks.
For a typical loaf of sourdough bread, you’ll want round 50-200 grams of your do-it-yourself sourdough starter. You need this to account for round 20-30% of the full flour weight in your bread recipe. I extremely suggest investing in a small kitchen scale when you actually wish to dive into the world of sourdough!
- Your starter will give off fuel because it eats the flour and water, so that you don’t wish to put a good lid on it. The fuel wants to flee one way or the other! That’s why I like to recommend masking your mason jar with cheesecloth, a espresso filter, or a paper towel. Don’t use the lid of the mason jar.
- Mark the facet of your mason jar with a everlasting marker, or use a rubber band to measure how a lot your combine has grown.
- Starters thrive in heat circumstances, with 75–80 levels F being very best. Often, the kitchen is an efficient place. It’s okay if your own home isn’t 75-80 levels heat, nevertheless it simply would possibly take a bit of longer so that you can see these stunning bubbles kind. Be affected person, it’ll work!
- If attainable, feed at an analogous time every day. This may let you monitor how nicely it rises and falls after every feed (which is an efficient indicator that it’s energetic!)
- Scrape down the edges. As your starter turns into extra energetic, it should rise and fall after every feed. I prefer to scrape down the edges of my jar as wanted to maintain it clear. You can even switch your starter to a brand new, clear sanitized jar if you wish to wash the one it’s at present in.
- Maintain your jar in a secure spot away from any potential contaminants like bugs, mildew, undesirable meals particles, and so on. Maintain it lined when not in use.
Storing & Sustaining your Sourdough Starter
If you wish to preserve your starter energetic, you will need to feed it with flour and water frequently. Should you’re baking each couple of days (or each day, fortunate you!), you need to preserve your jar on the countertop. You wish to feed it twice a day, ideally. Should you miss a feeding, it’s okay. Simply control it and be sure to nonetheless see bubbles. If it will get any brownish liquid on prime (often known as “hooch”), it’s hungry and wishes feeding. Drain that liquid off and feed it!
Should you’re baking solely as soon as every week or as soon as a month, you’ll wish to preserve your jar within the fridge. You’ll be able to feed it as soon as every week, and it’ll survive! The fridge is a helpful piece of kitchen gear on this state of affairs as a result of the temperature-controlled chilly air slows the speed that the starter eats the flour and water after being fed. This implies it may possibly survive rather a lot longer between feedings as soon as every week.
This recipe for sourdough starter is actually really easy and beginner-friendly, however like every residing factor, it may possibly have a thoughts of its personal typically! If yours isn’t doing as you anticipated, don’t panic! I’ve been there, and I promise there’s nearly at all times a easy repair.
Beneath are a number of frequent questions and troubleshooting ideas that will help you really feel assured and answerable for the method:
–There have been numerous bubbles within the first few days, however not anymore. Why is that?
Everybody’s starters are completely different, and I actually can’t emphasize this sufficient! Your house could also be hotter than mine, or your flour may need extra naturally occurring yeast than the sort I take advantage of. All of those components can change how your starter behaves from day after day. Should you noticed bubbles within the first few days and now it’s gone quiet, it doesn’t imply it’s lifeless. Any seen bubbles that early on are seemingly brought on by a sure kind of micro organism. As these early micro organism die off (they’re not those we wish long-term), the wild yeast and helpful (good for you) micro organism begin to take over. Throughout that shift, issues can get quiet.
Proceed with the method as described, and by Day 7 (as much as Day 14), you’ll see it perk again up once more!
-Why do I’ve to discard earlier than feeding?
Eradicating a few of your starter earlier than feeding helps preserve it at a manageable dimension. While you feed it, you’ll be engaged on a 1:1:1 foundation (starter, flour, and water). The extra you’ve in your jar, the extra flour and water you have to add throughout feeding…and the larger the full quantity will grow to be! Discarding some retains the quantity small and sustainable, particularly at first whenever you’re feeding it each day.
As soon as it’s energetic (seen bubbles, rise and falls predictably, smells pleasantly yeasty), you possibly can preserve the discard within the fridge for 1-2 weeks and use it in any sourdough discard recipe you want.
-I let my sourdough sit too lengthy with out feeding it! There’s a brownish liquid on prime now…do I’ve to throw it out and begin over?
No, you don’t have to begin over, however your starter is HUNGRY. Drain off the liquid (the hooch) and feed it!
-I’m able to bake some bread, however I don’t have sufficient starter?
By Day 7 (presumably as much as Day 14), you need to have greater than sufficient to start baking. You’re formally able to bake when you’ve at the least 50-200g of starter and it’s visibly energetic. (Bear in mind, you have to avoid wasting within the jar so you possibly can replenish it over and over!)
-I saved my starter within the fridge, however I wish to bake with it now. How do I wake it up?
You’ll wish to feed your starter at the least 3 instances earlier than baking with it so the yeast and (good) micro organism are tremendous energetic, which is able to yield fluffy, chewy, scrumptious sourdough bread! You must do that whether or not it’s saved within the fridge or on the counter.
So, when you’re planning to bake on Sunday, you’ll wish to retailer your jar on the countertop and feed it on Saturday morning, Saturday afternoon, and earlier than mattress on Saturday night time. Hear, I do know sourdough takes a bit of work and superior planning, nevertheless it’s an ideal ability to study. Nothing brings the comfortable vibes like baking sourdough from scratch.
-How do I do know if it’s gone unhealthy?
Should you see any inexperienced or black fuzzy spots, or if the combination turns a humorous coloration like pink or orange, you’ll must toss it and begin the method over once more.
-How lengthy will my sourdough bread starter final for?
As long as there aren’t any indicators of mildew or uncommon smells and also you feed it as wanted (whether or not it’s saved within the fridge or at room temperature)…it may possibly final endlessly. Severely! The completely different microbes proceed to feed and thrive every time it’s fed, creating an infinite cycle of fermentation. There are starters on the market which have even been handed down by means of generations!